Protocol for Bonding PDMS Microfluidic Chips to Glass Slides at Nano3 Facility at UC San Diego

Purpose of Protocol

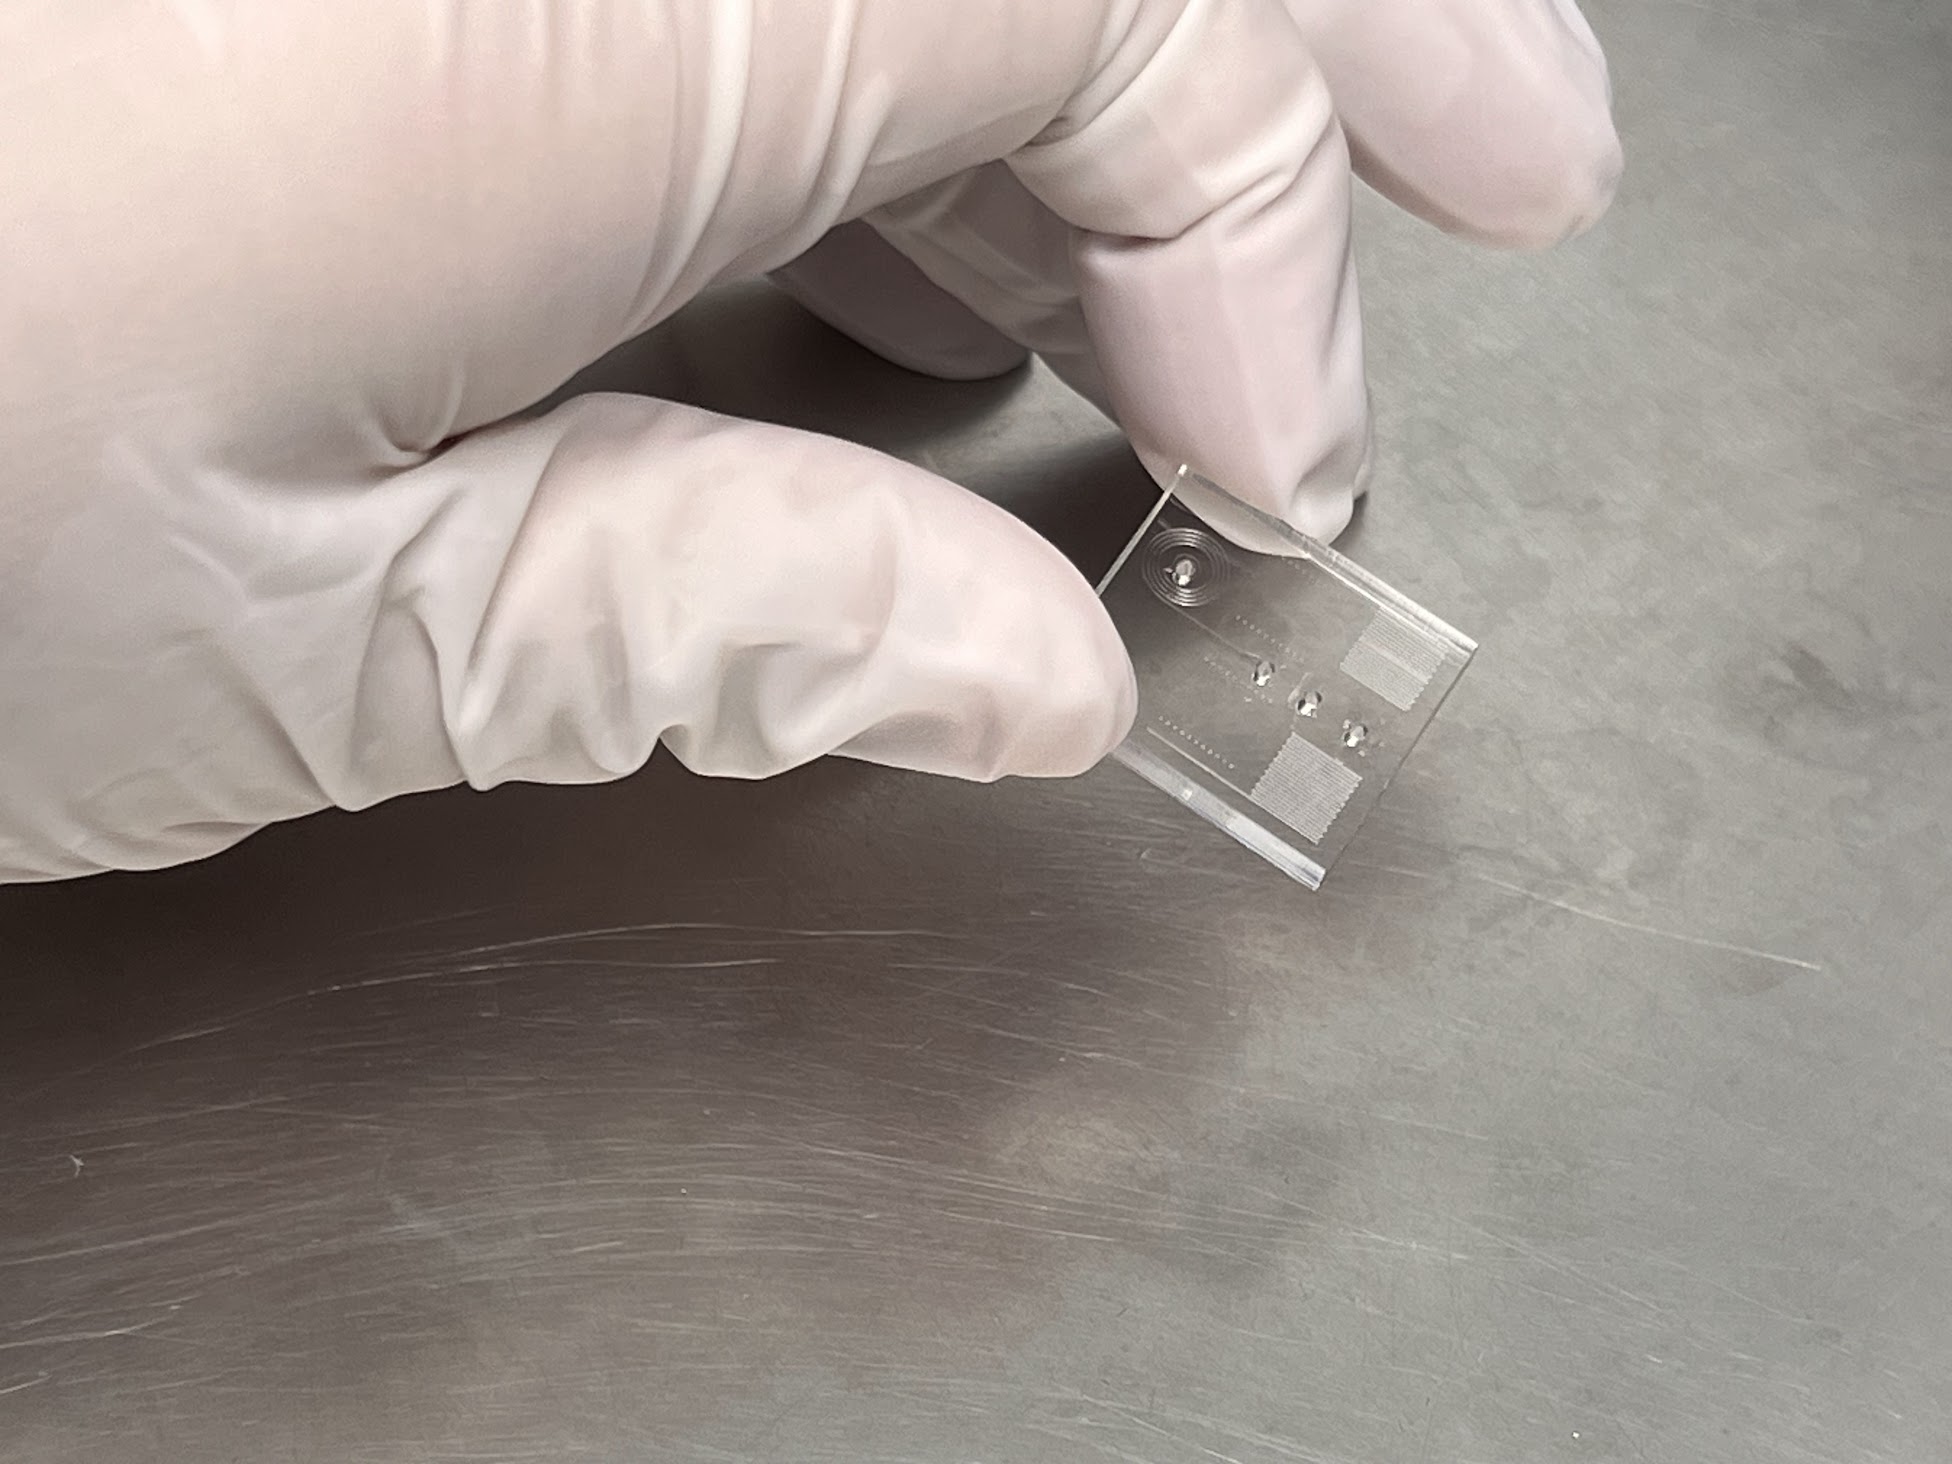
  • We need to seal the PDMS on the side of the Microfluidic pattern so we can run liquids through the Chip.

Preheat the Tepla Asher in Prepration for Bonding

  • Make a reservation of the Tepla Asher for 3 hours using the FOM Reservation System.

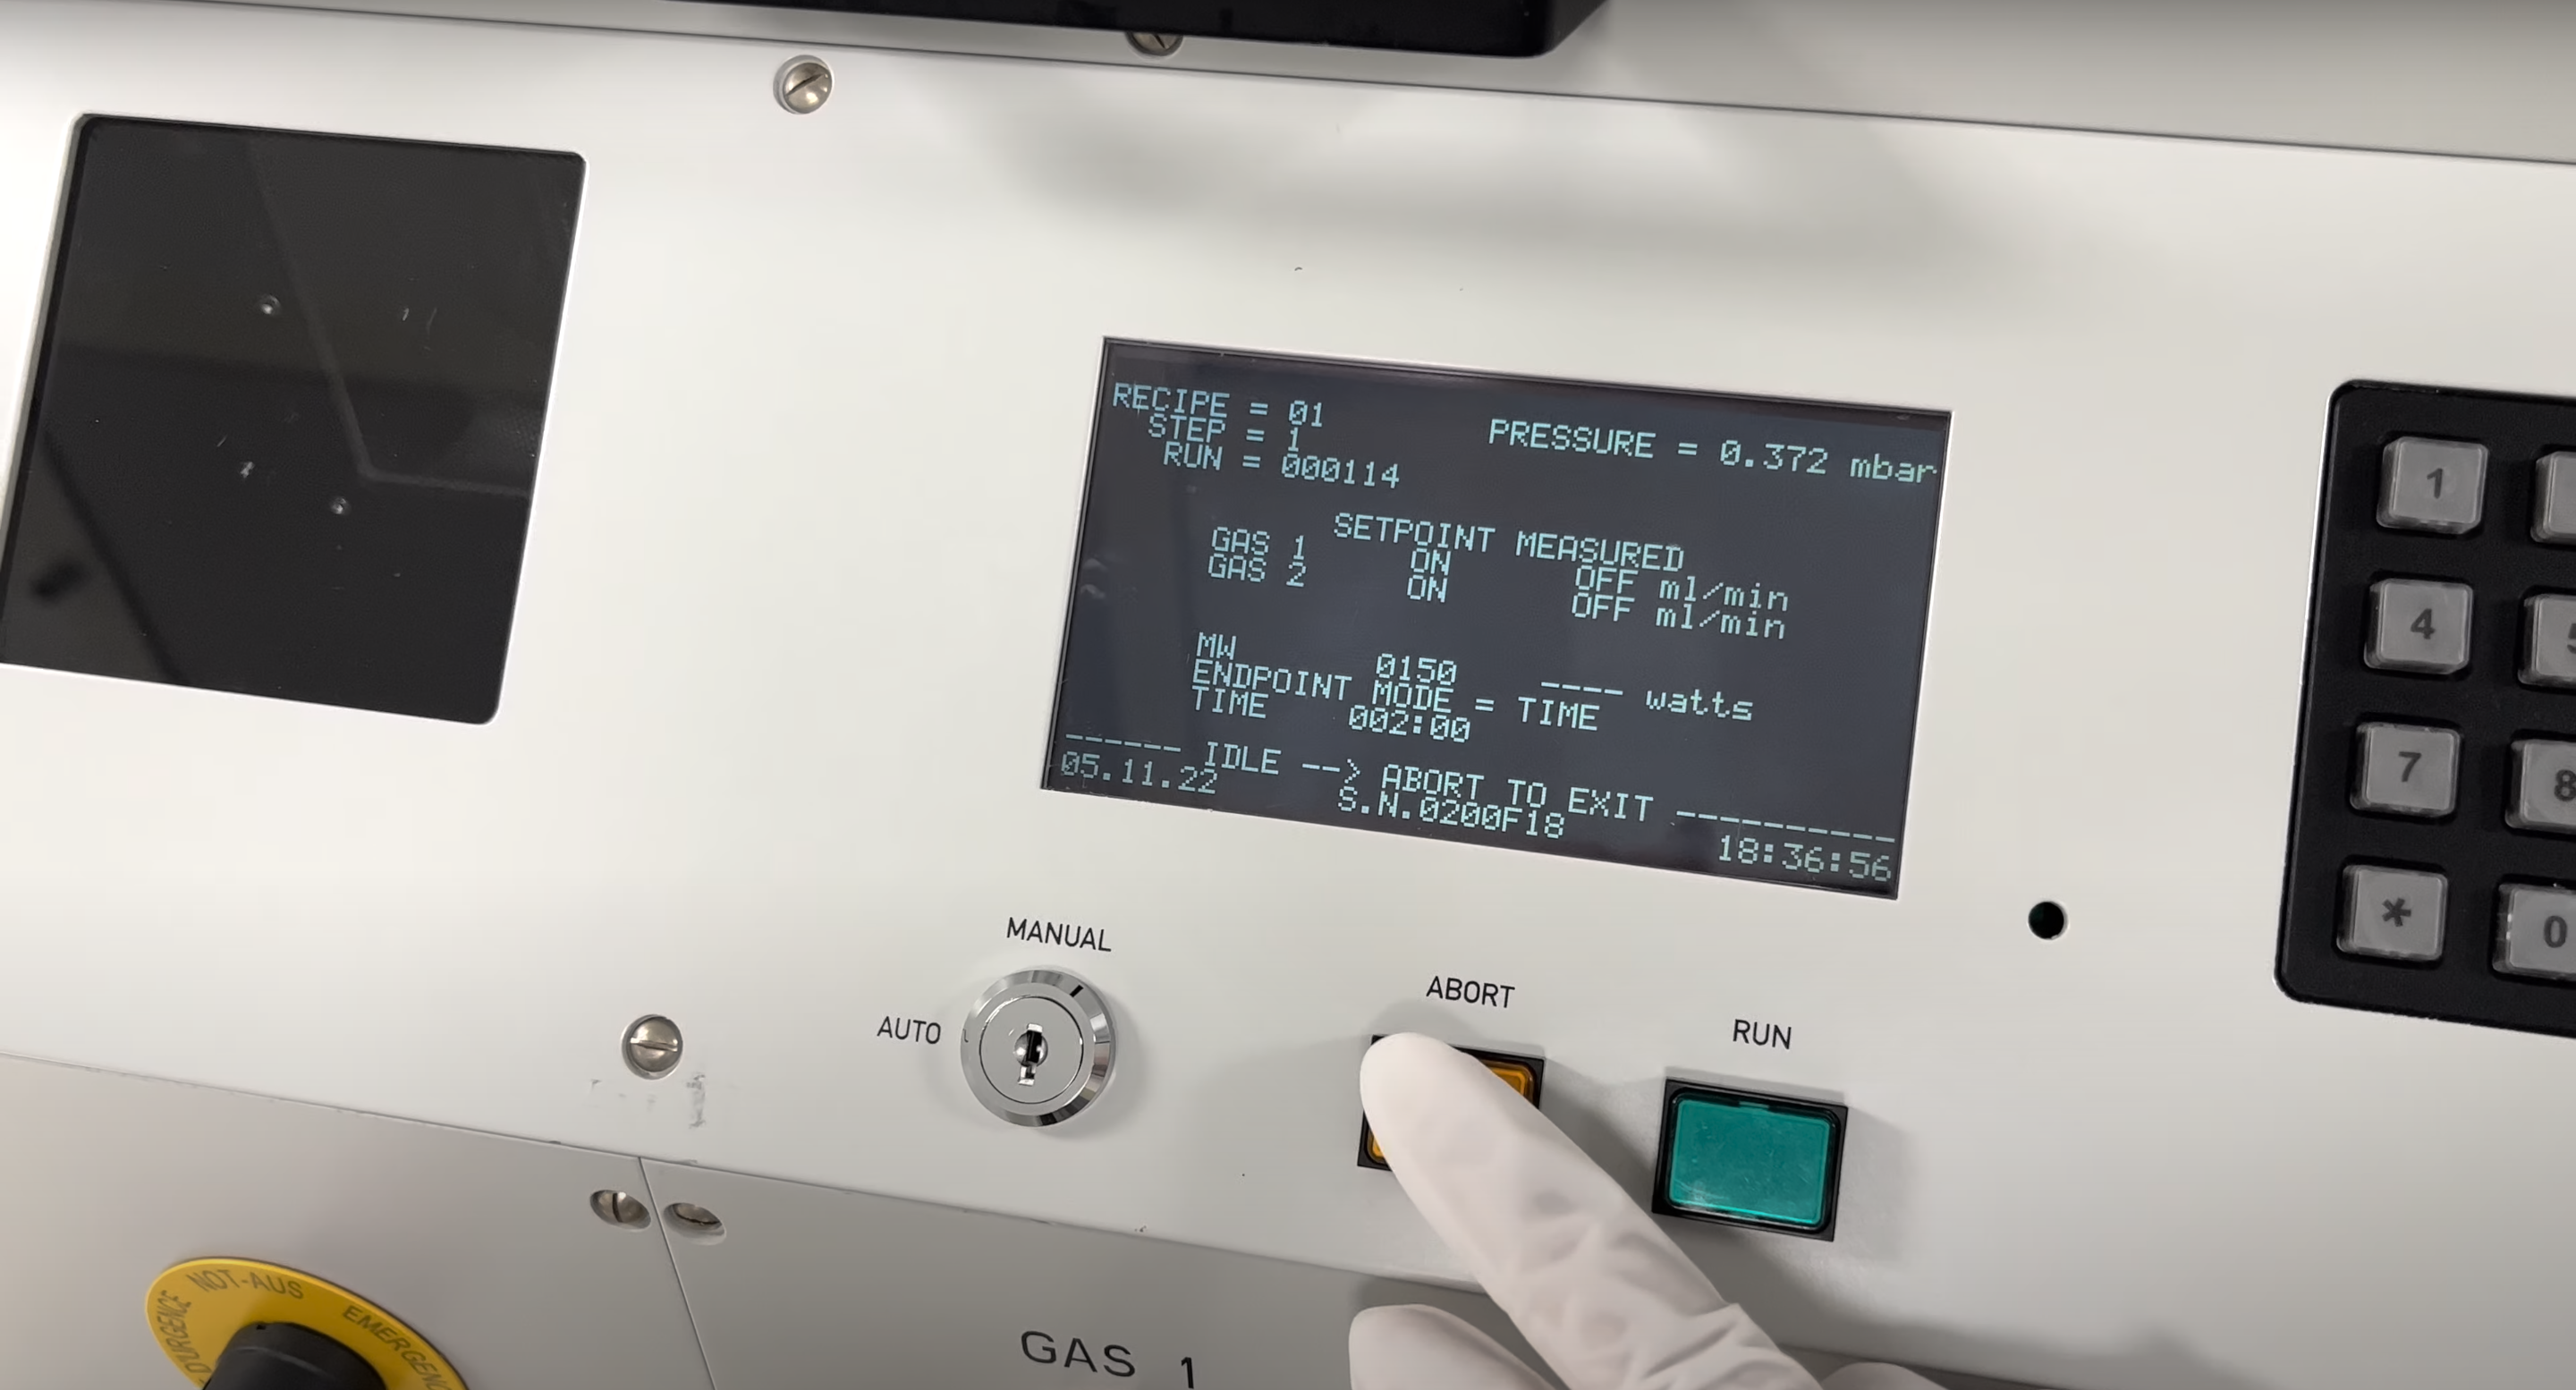
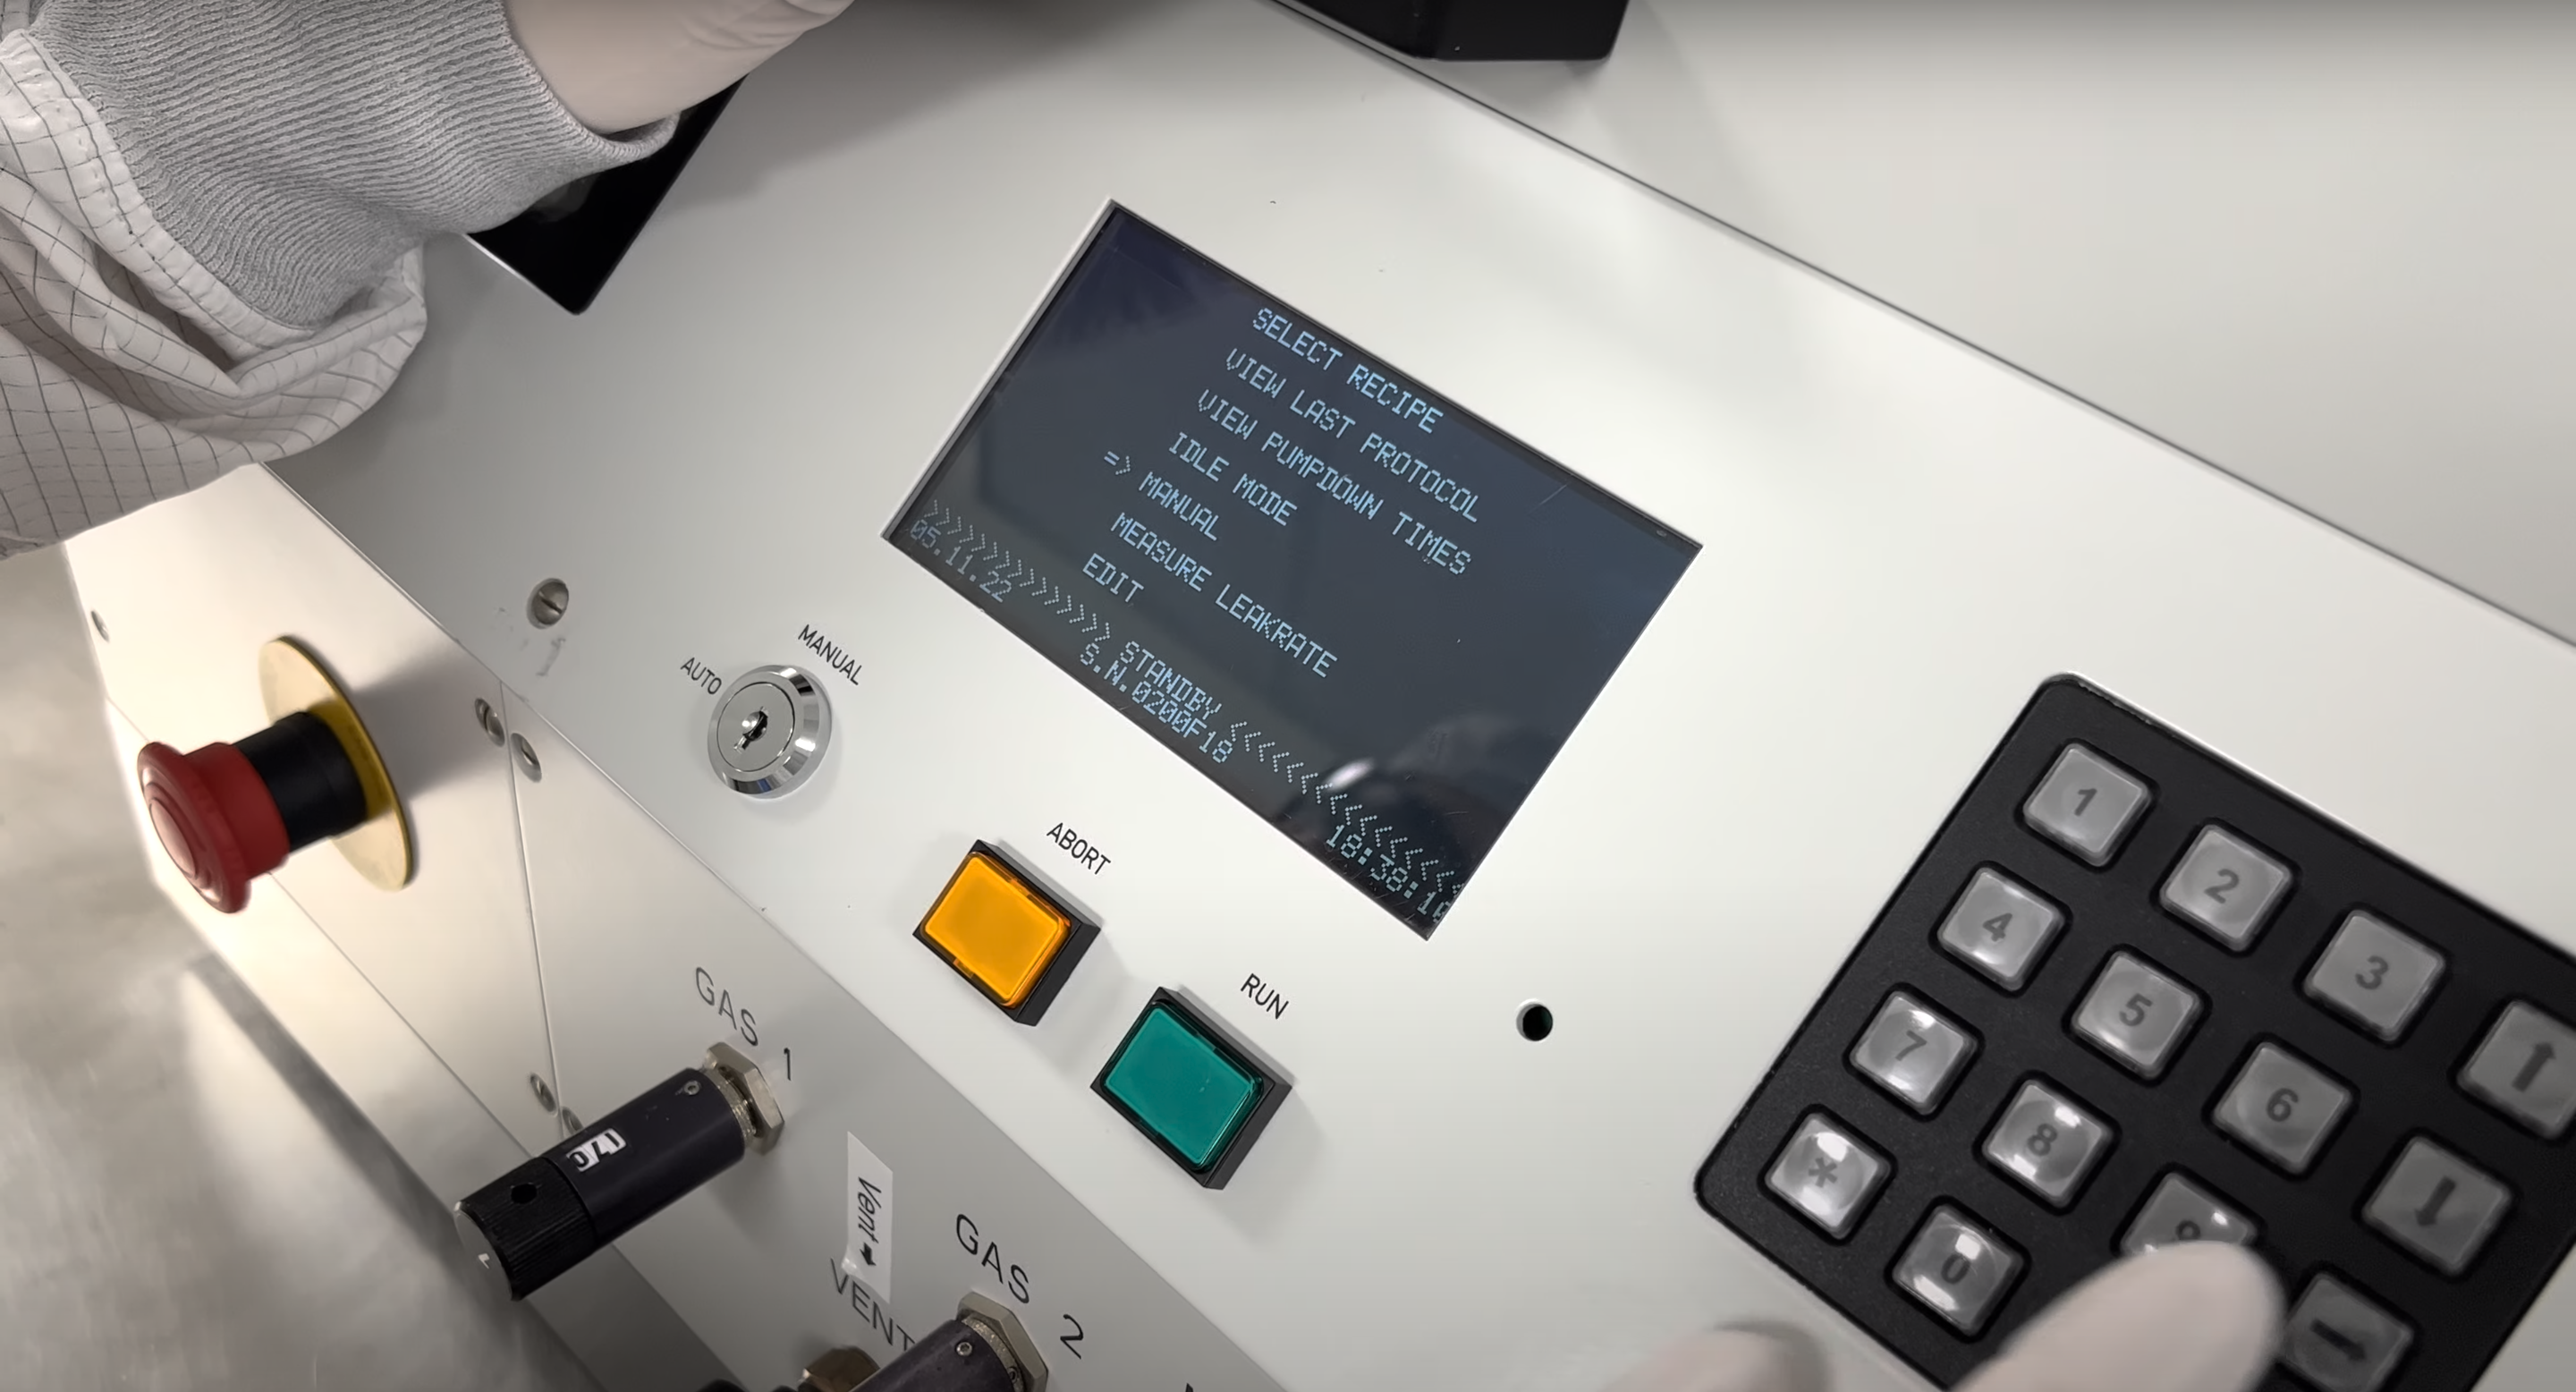
  • Log on to the Tepla Asher. You should find the machine in Idle. Press Abort to Exit

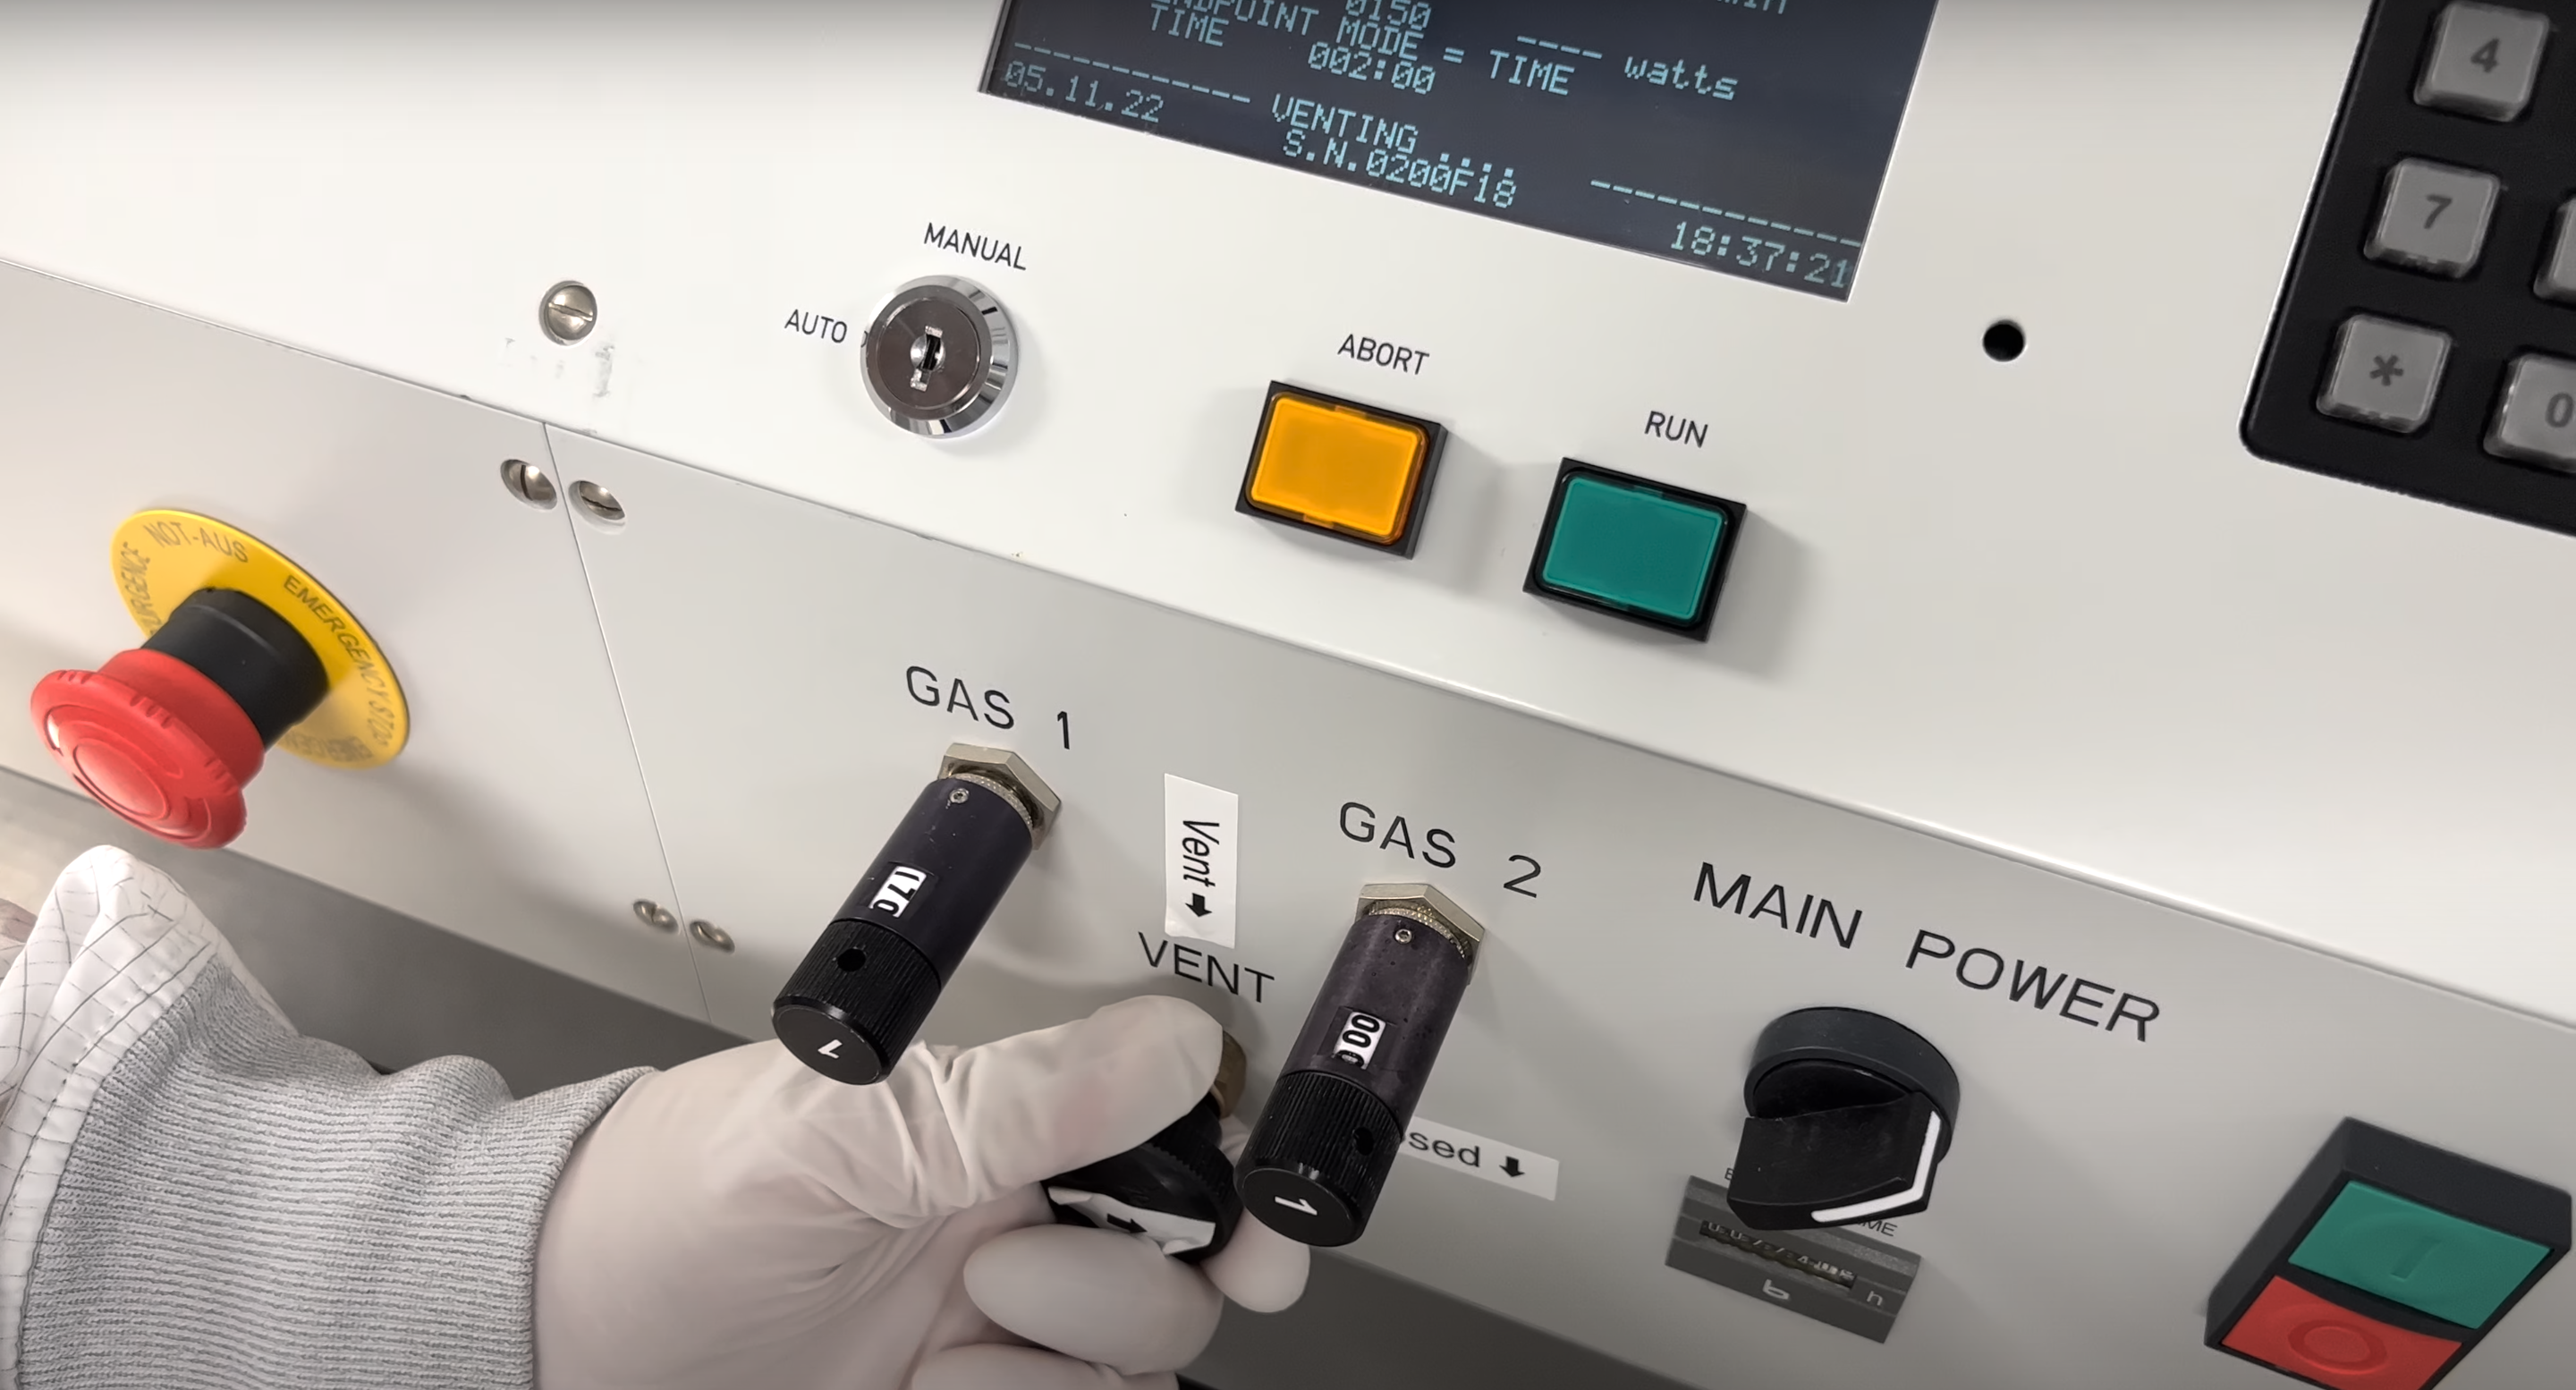
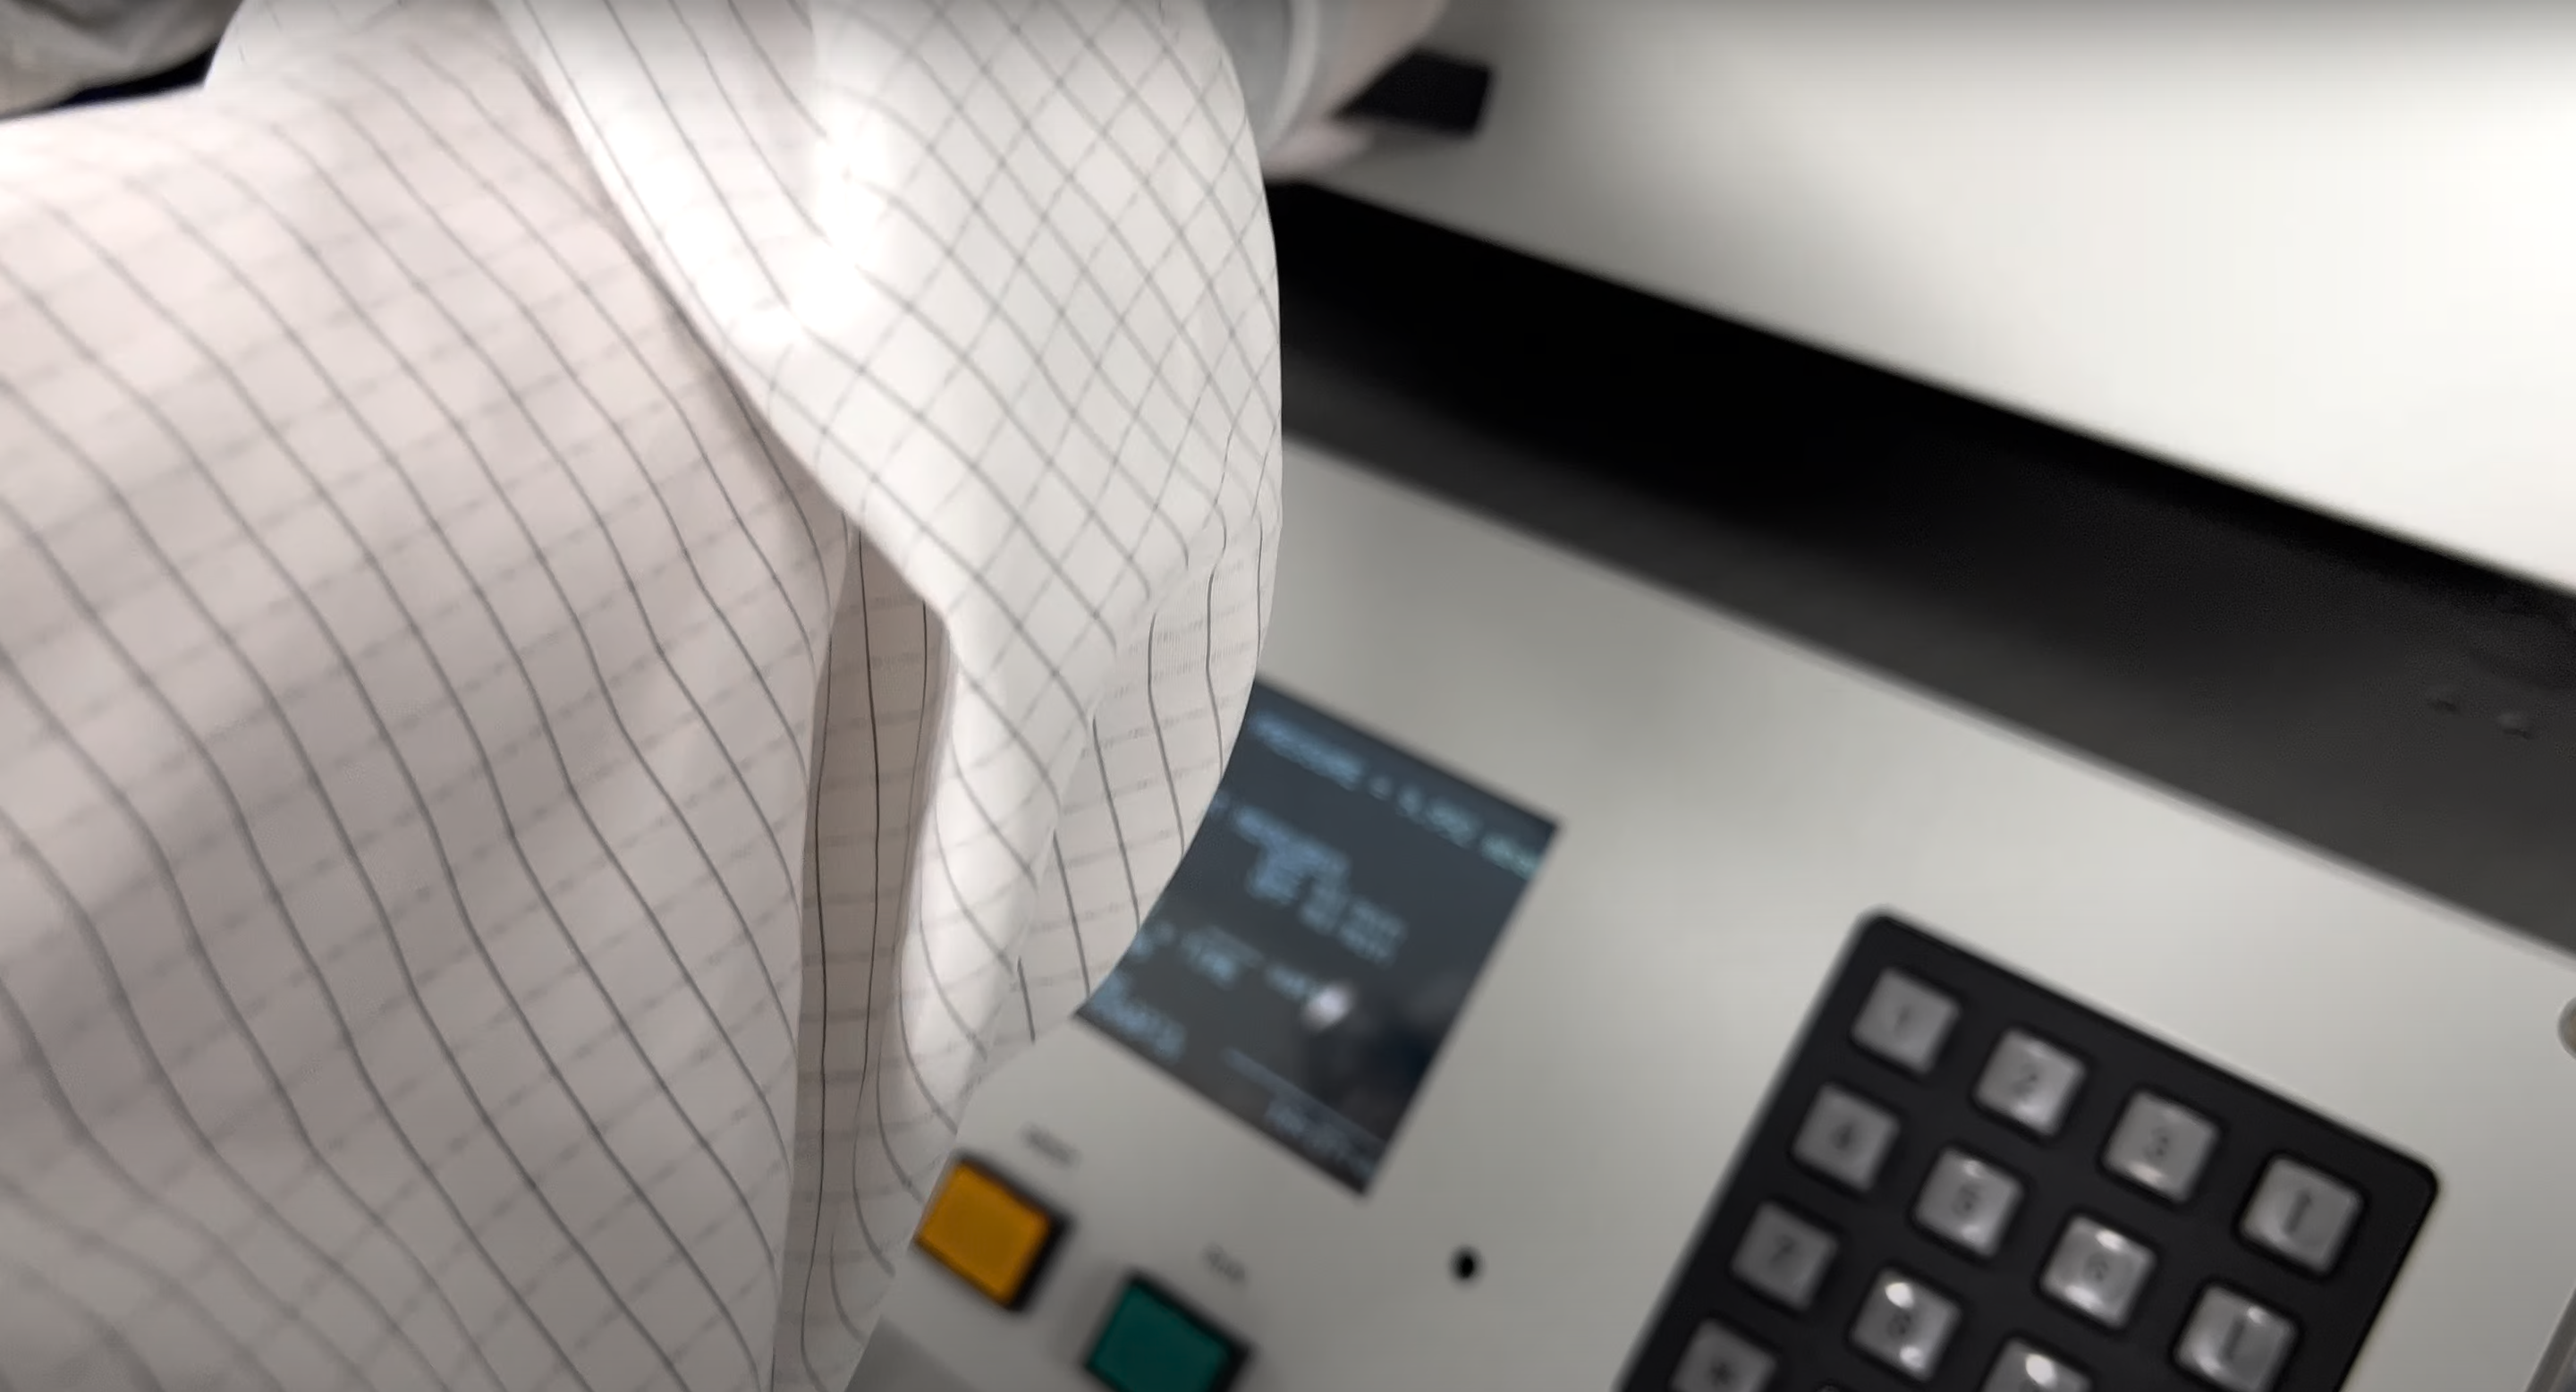
  • Slowly Rotate the Vent Knob 90 Degrees counter-clockwise to the Open Position Labelled on the Machine with the Arrow.

    Final Position:

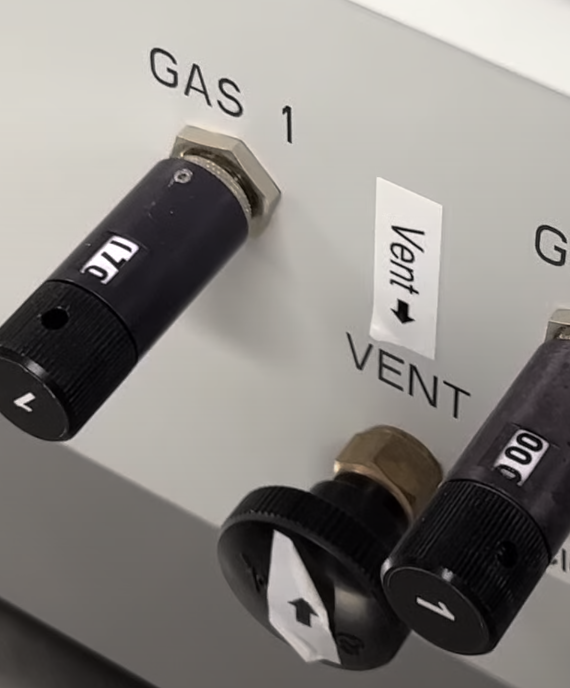
  • Open the Top Portion to reset the device. Then close the Vent valve by Rotating Clockwise.

  • Press ENT on the Keypad to reach the Menu.

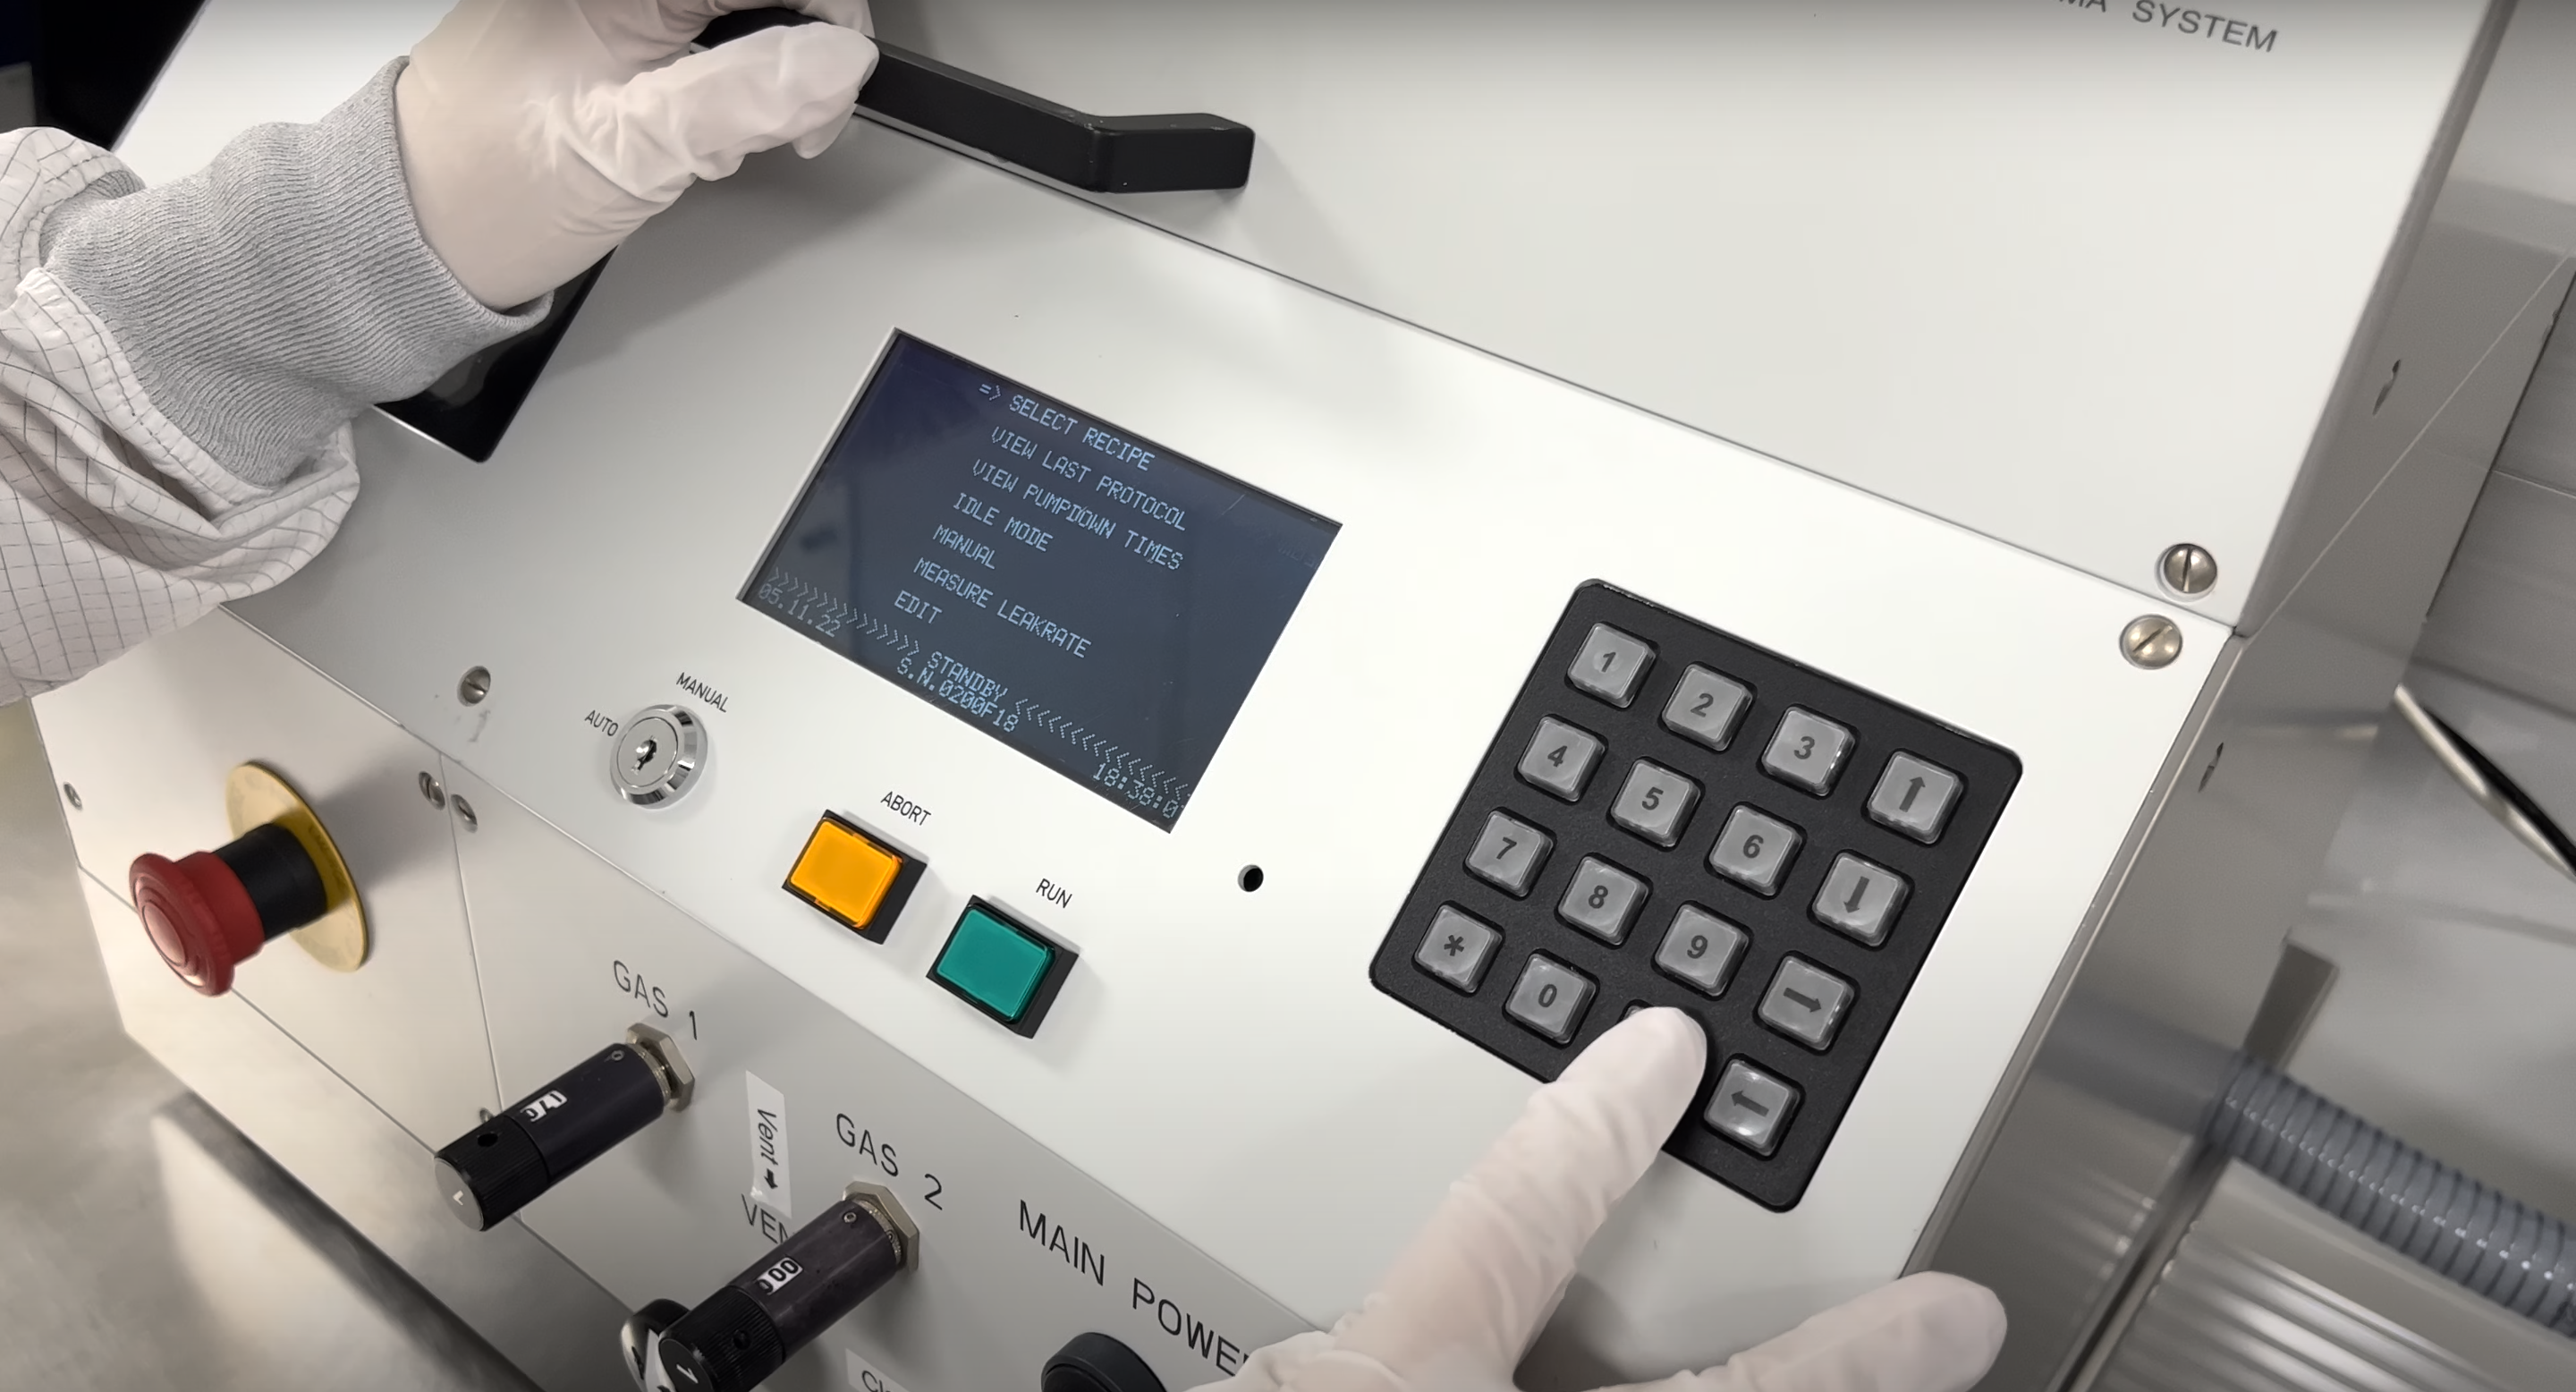
  • Select the MANUAL Mode using the Keypad and Press ENT.

  • Set GAS 1 Flow Rate to the maximum flow rate of 110.

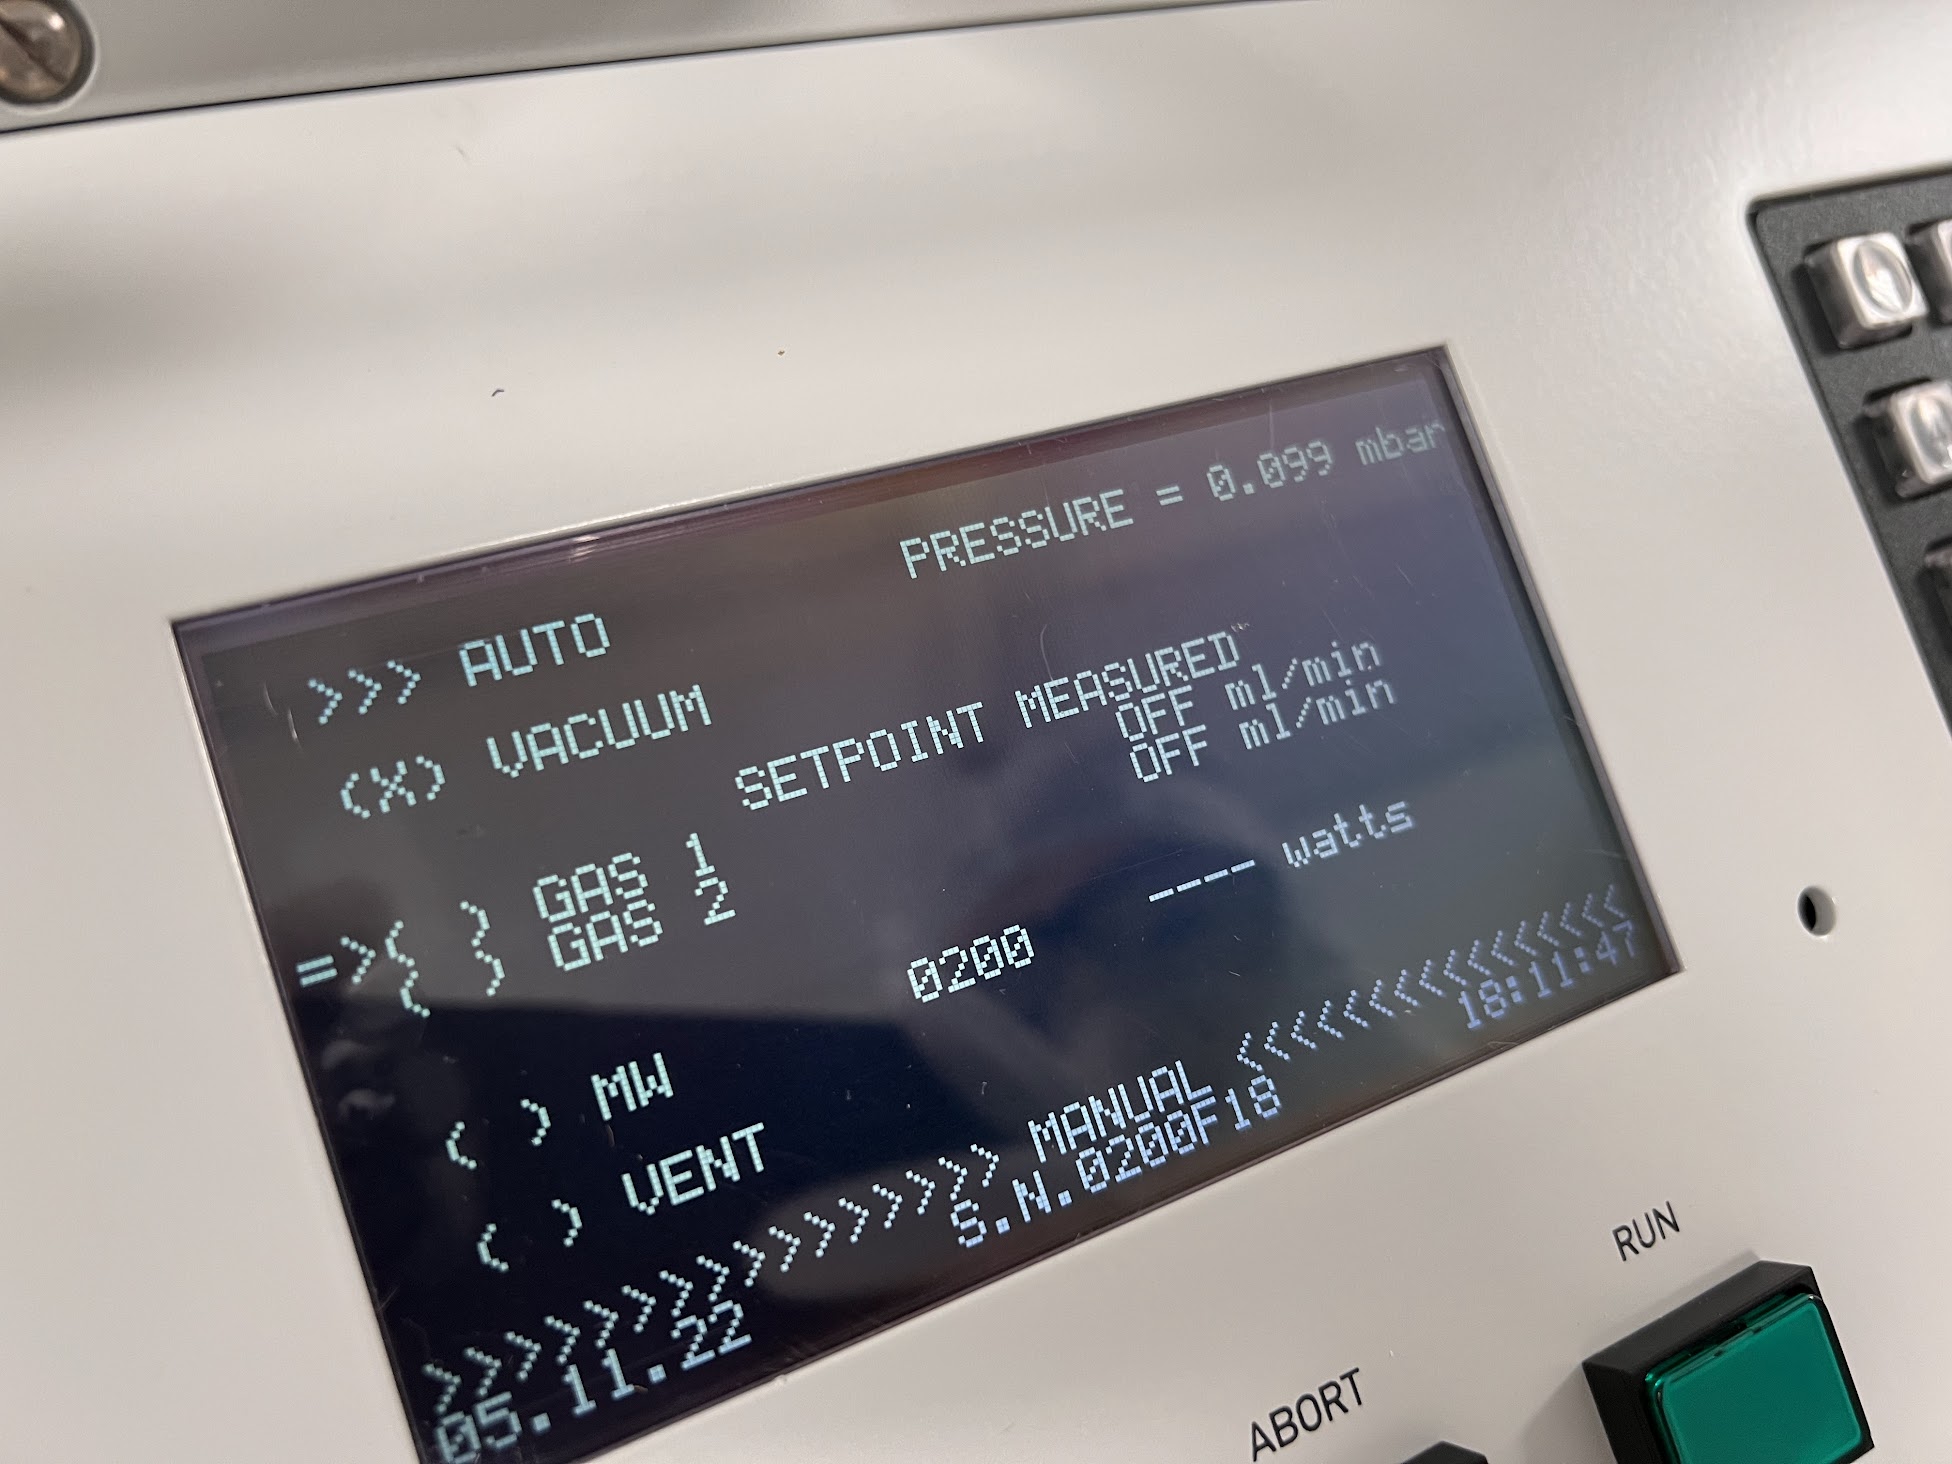
  • Pump Down the System by Selecting VACUUM and then press ENT.

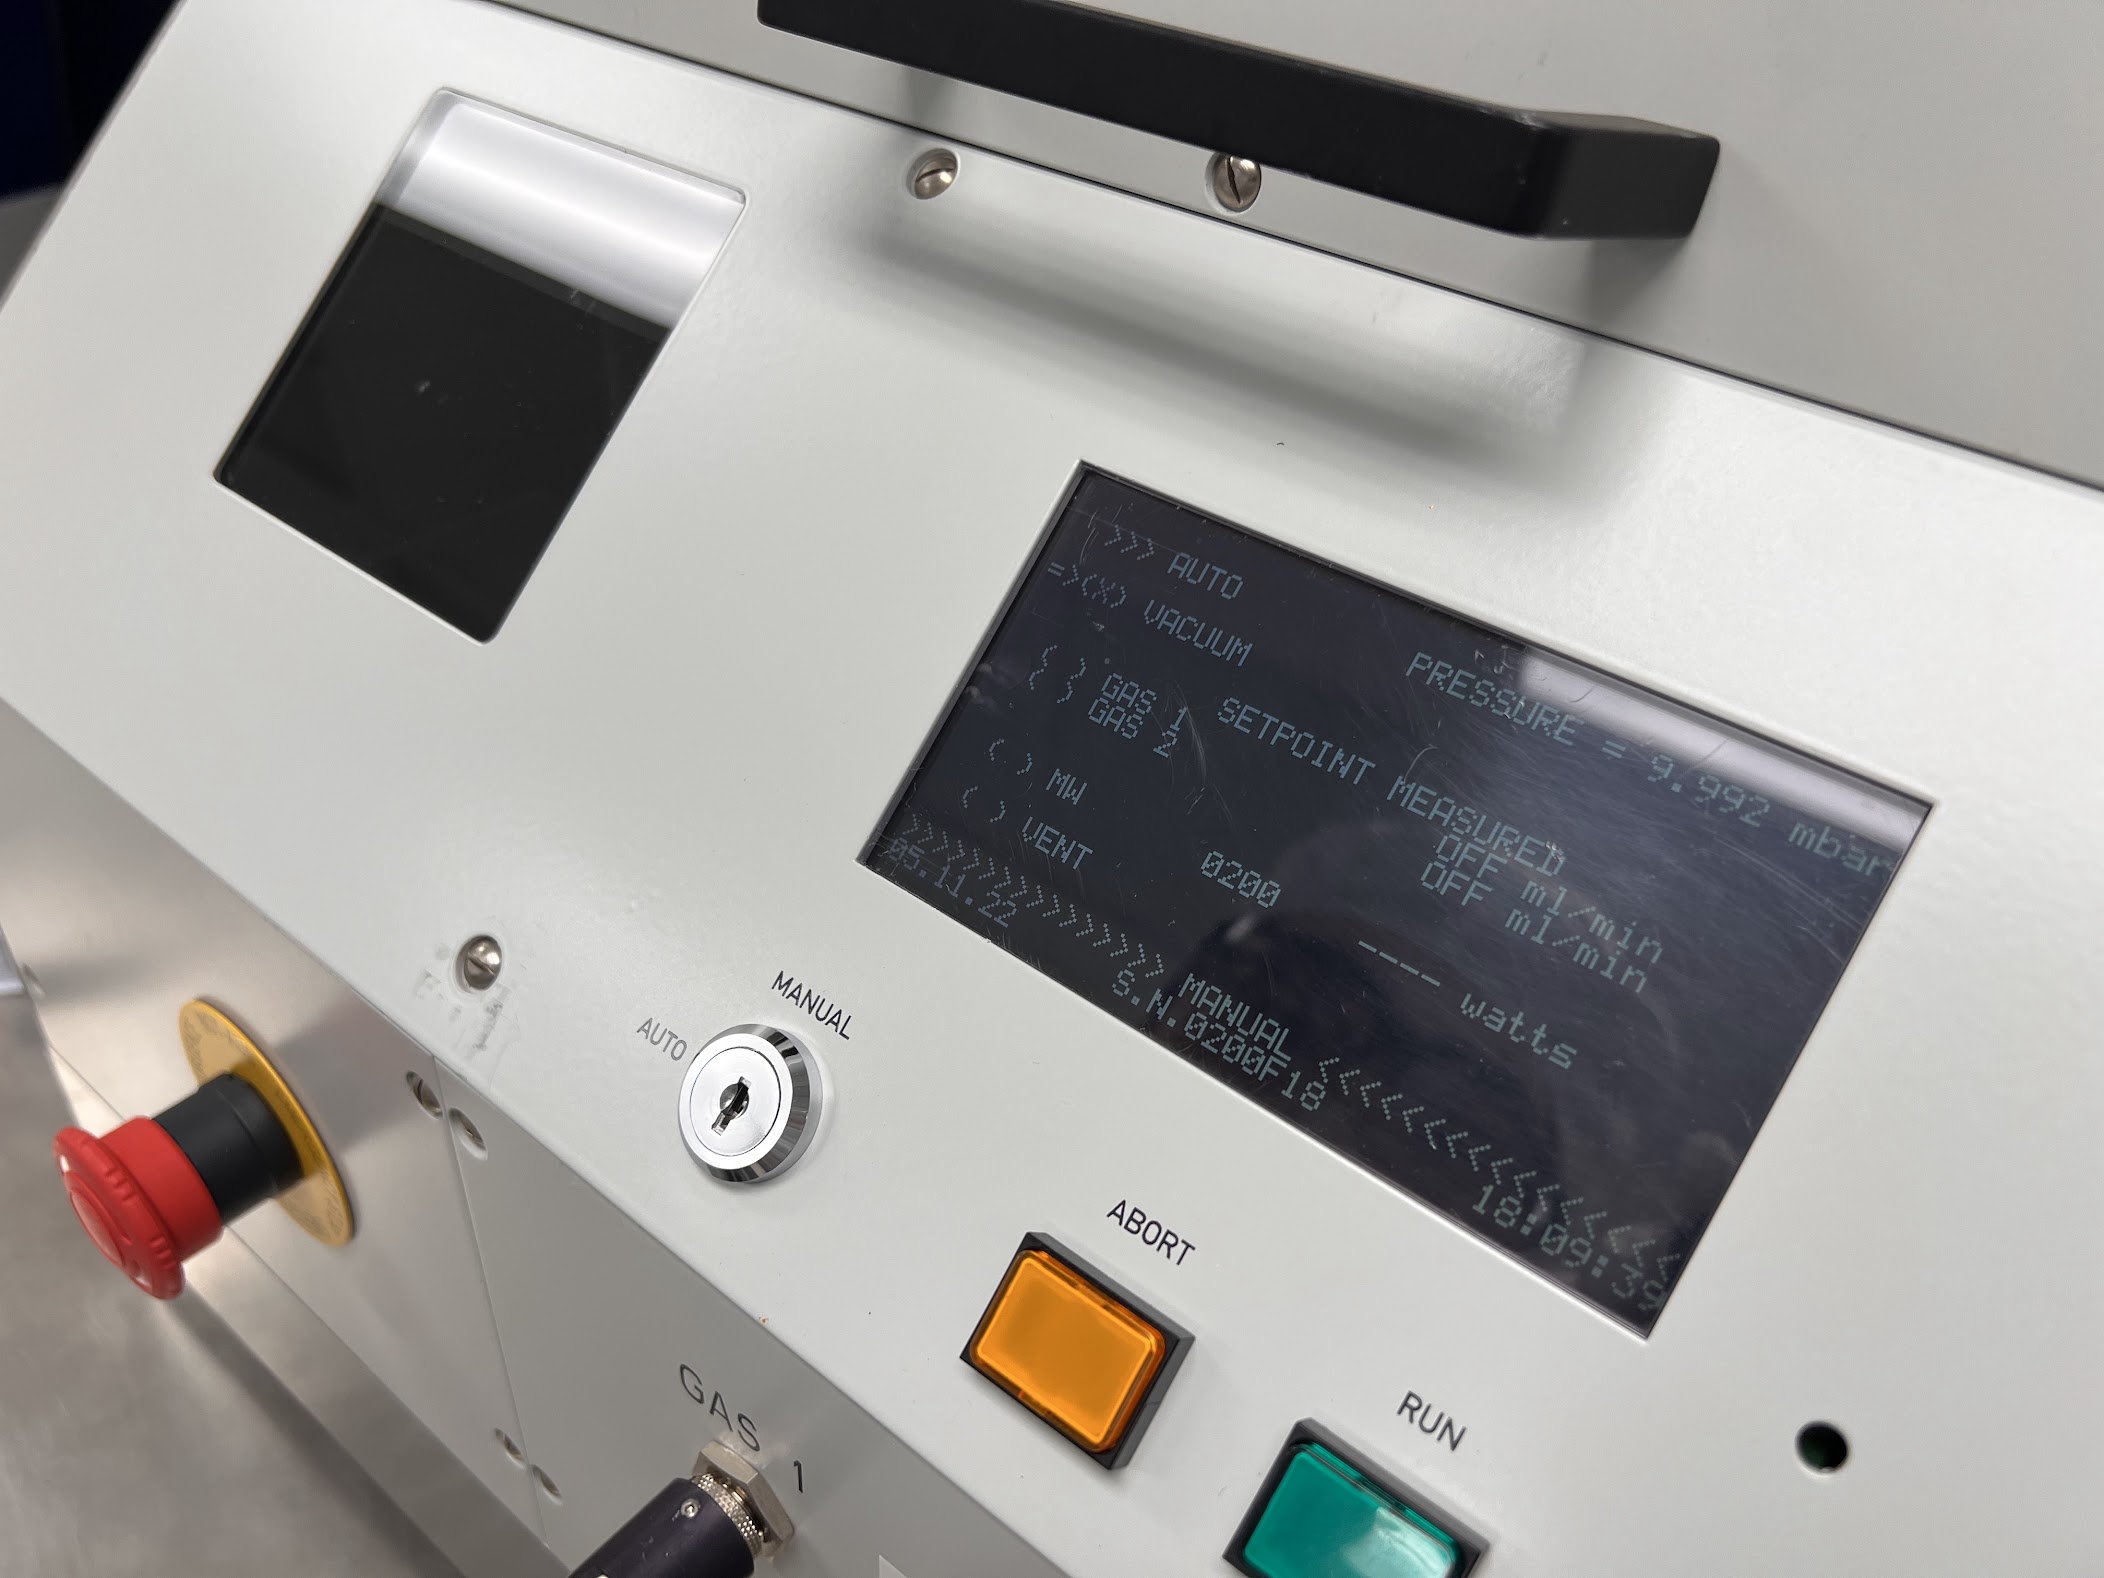
  • Wait till the PRESSURE reaches less than 0.100 mbar.

  • Select GAS 1 and press ENT.

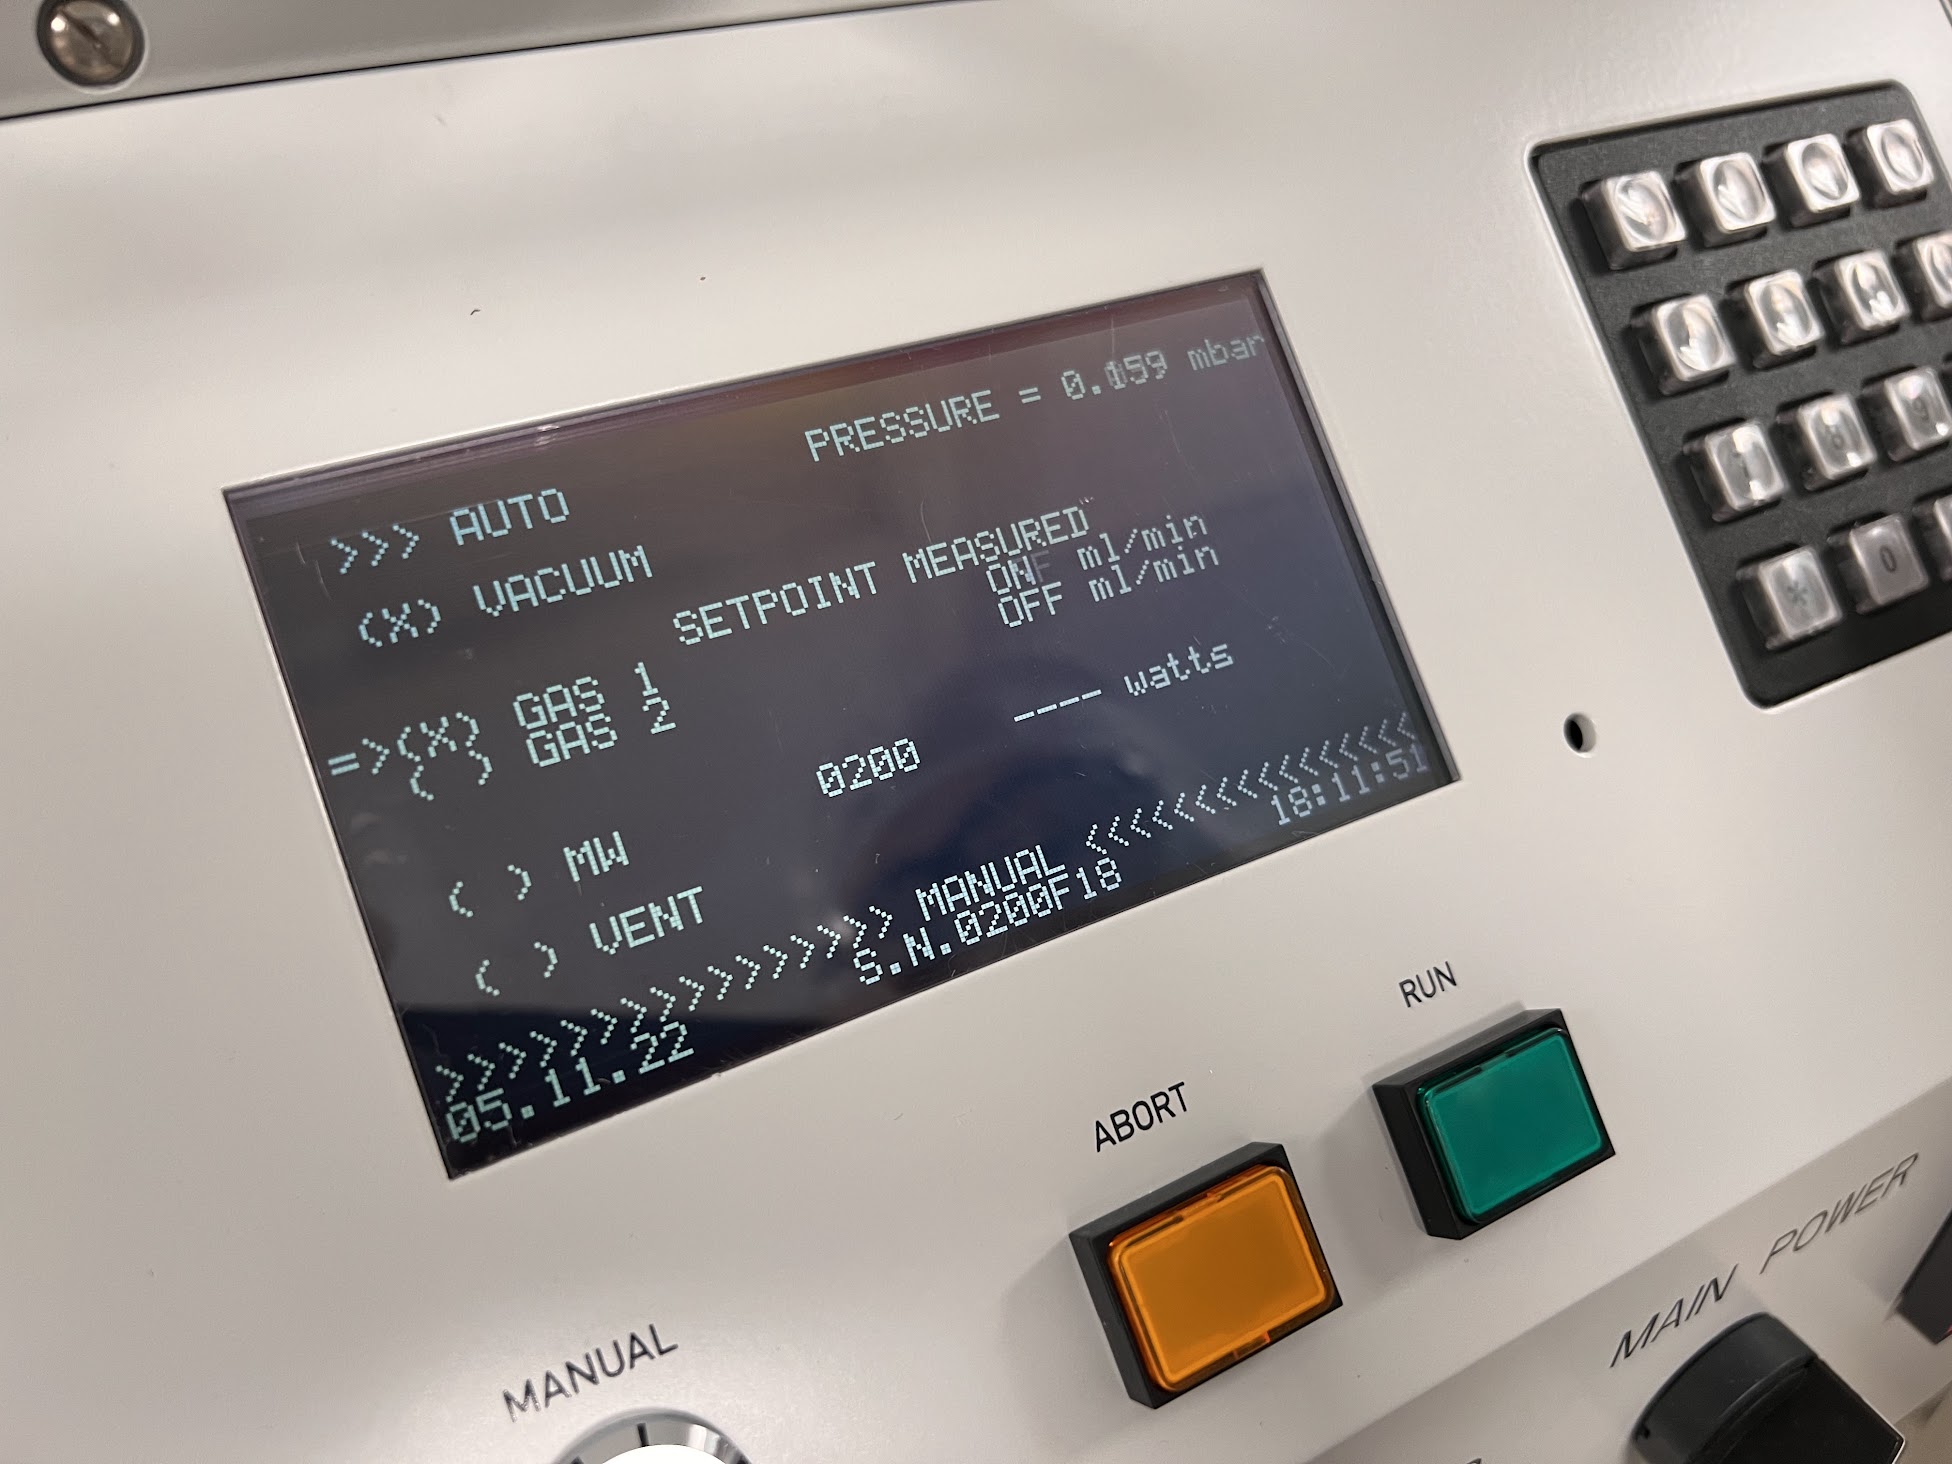
    Wait for the PRESSURE to stabilize

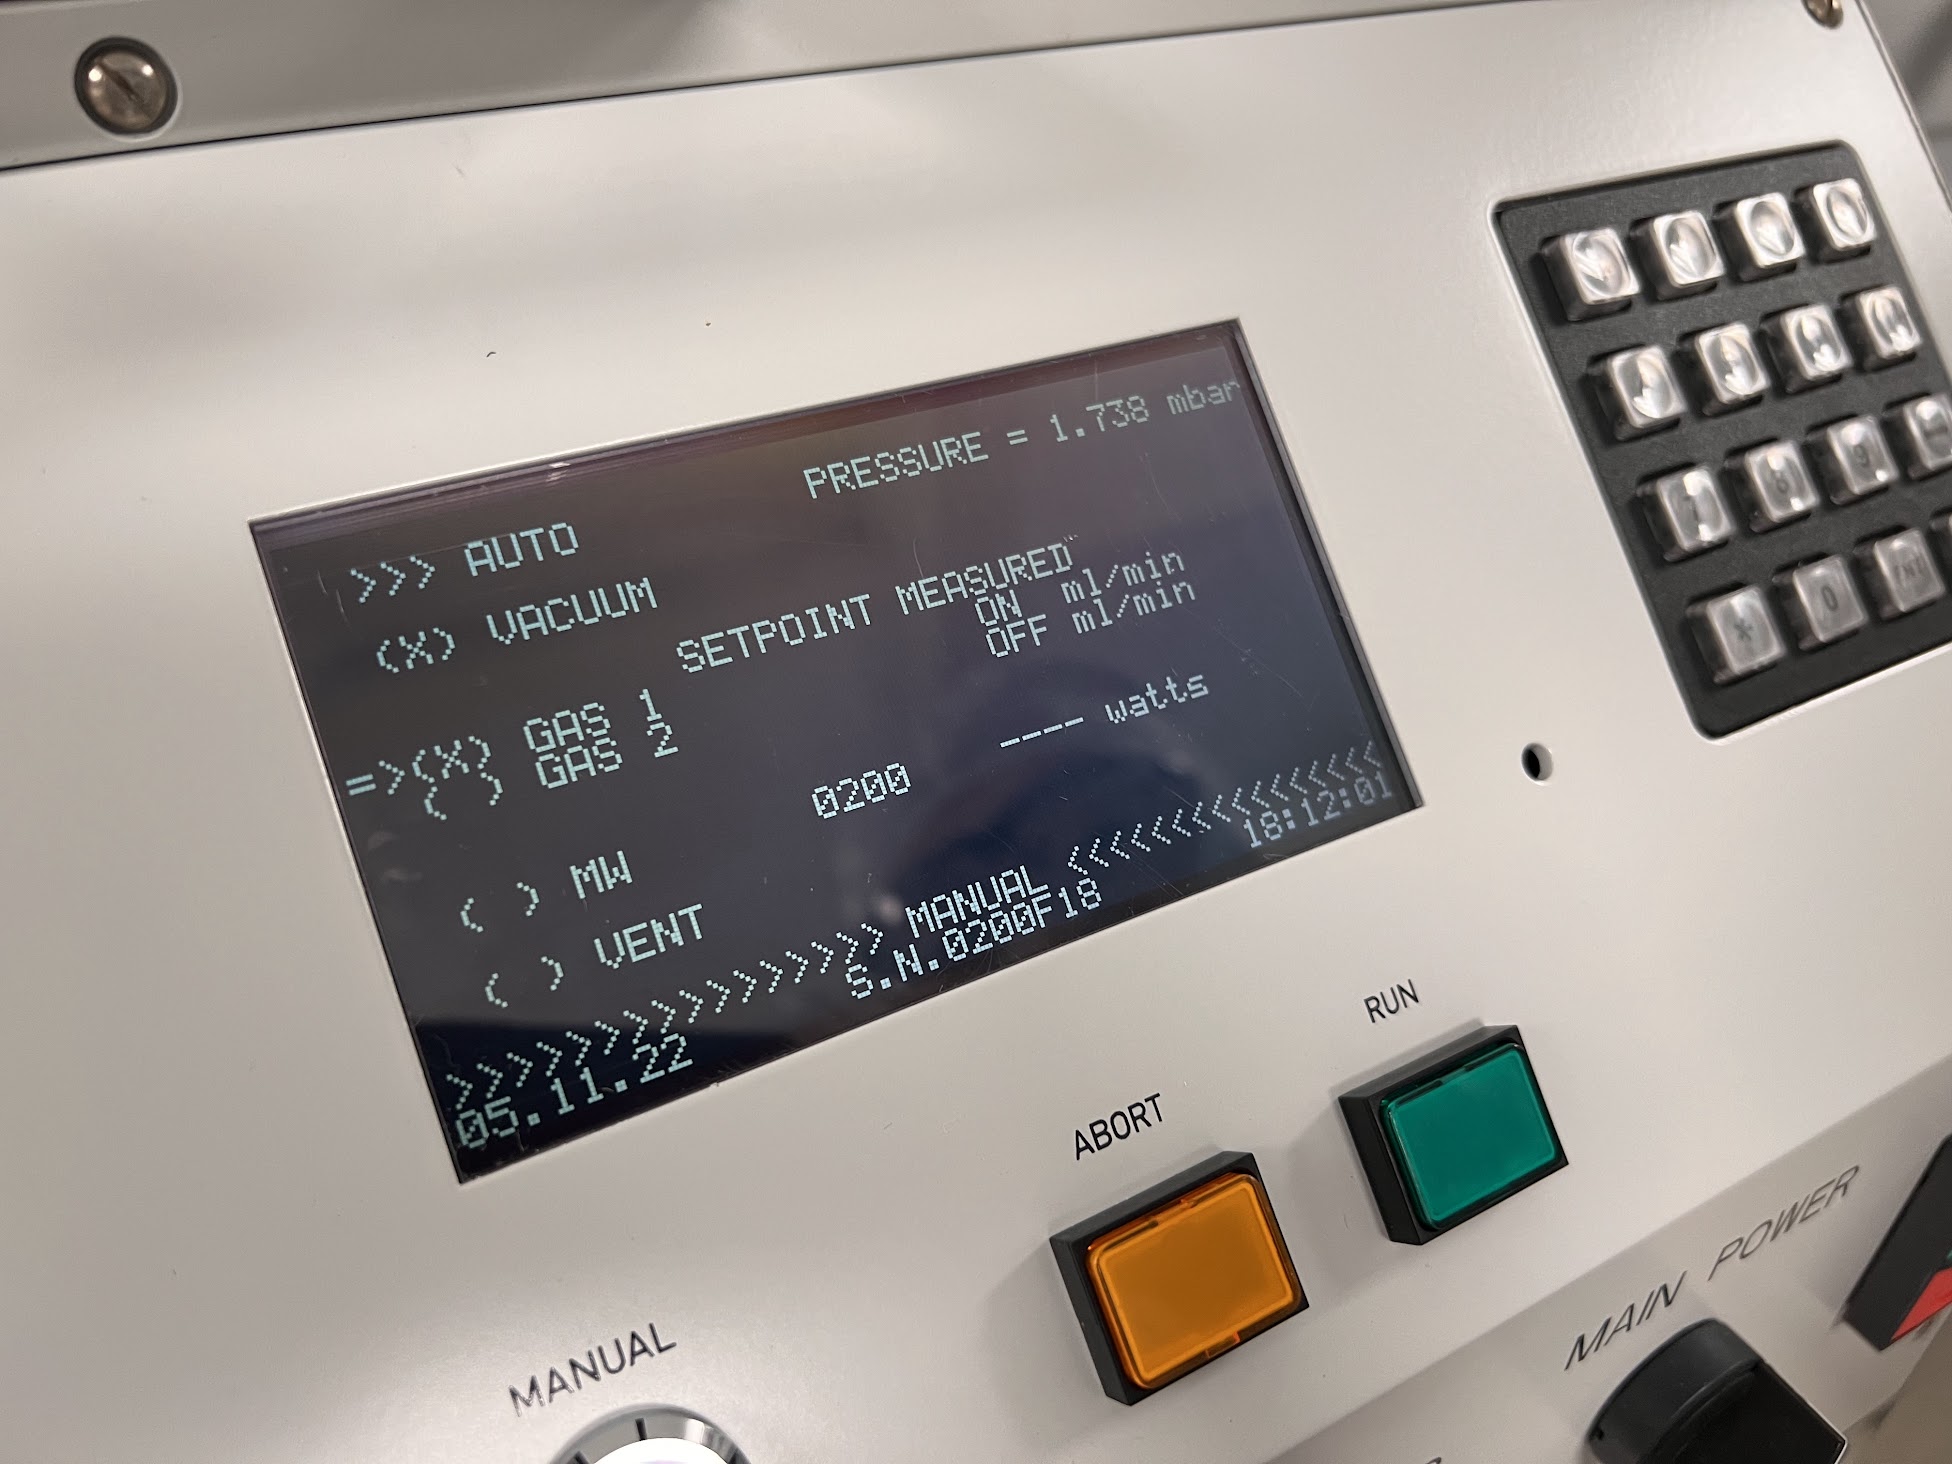
  • Select MW to set the Power Level and set it to 200.

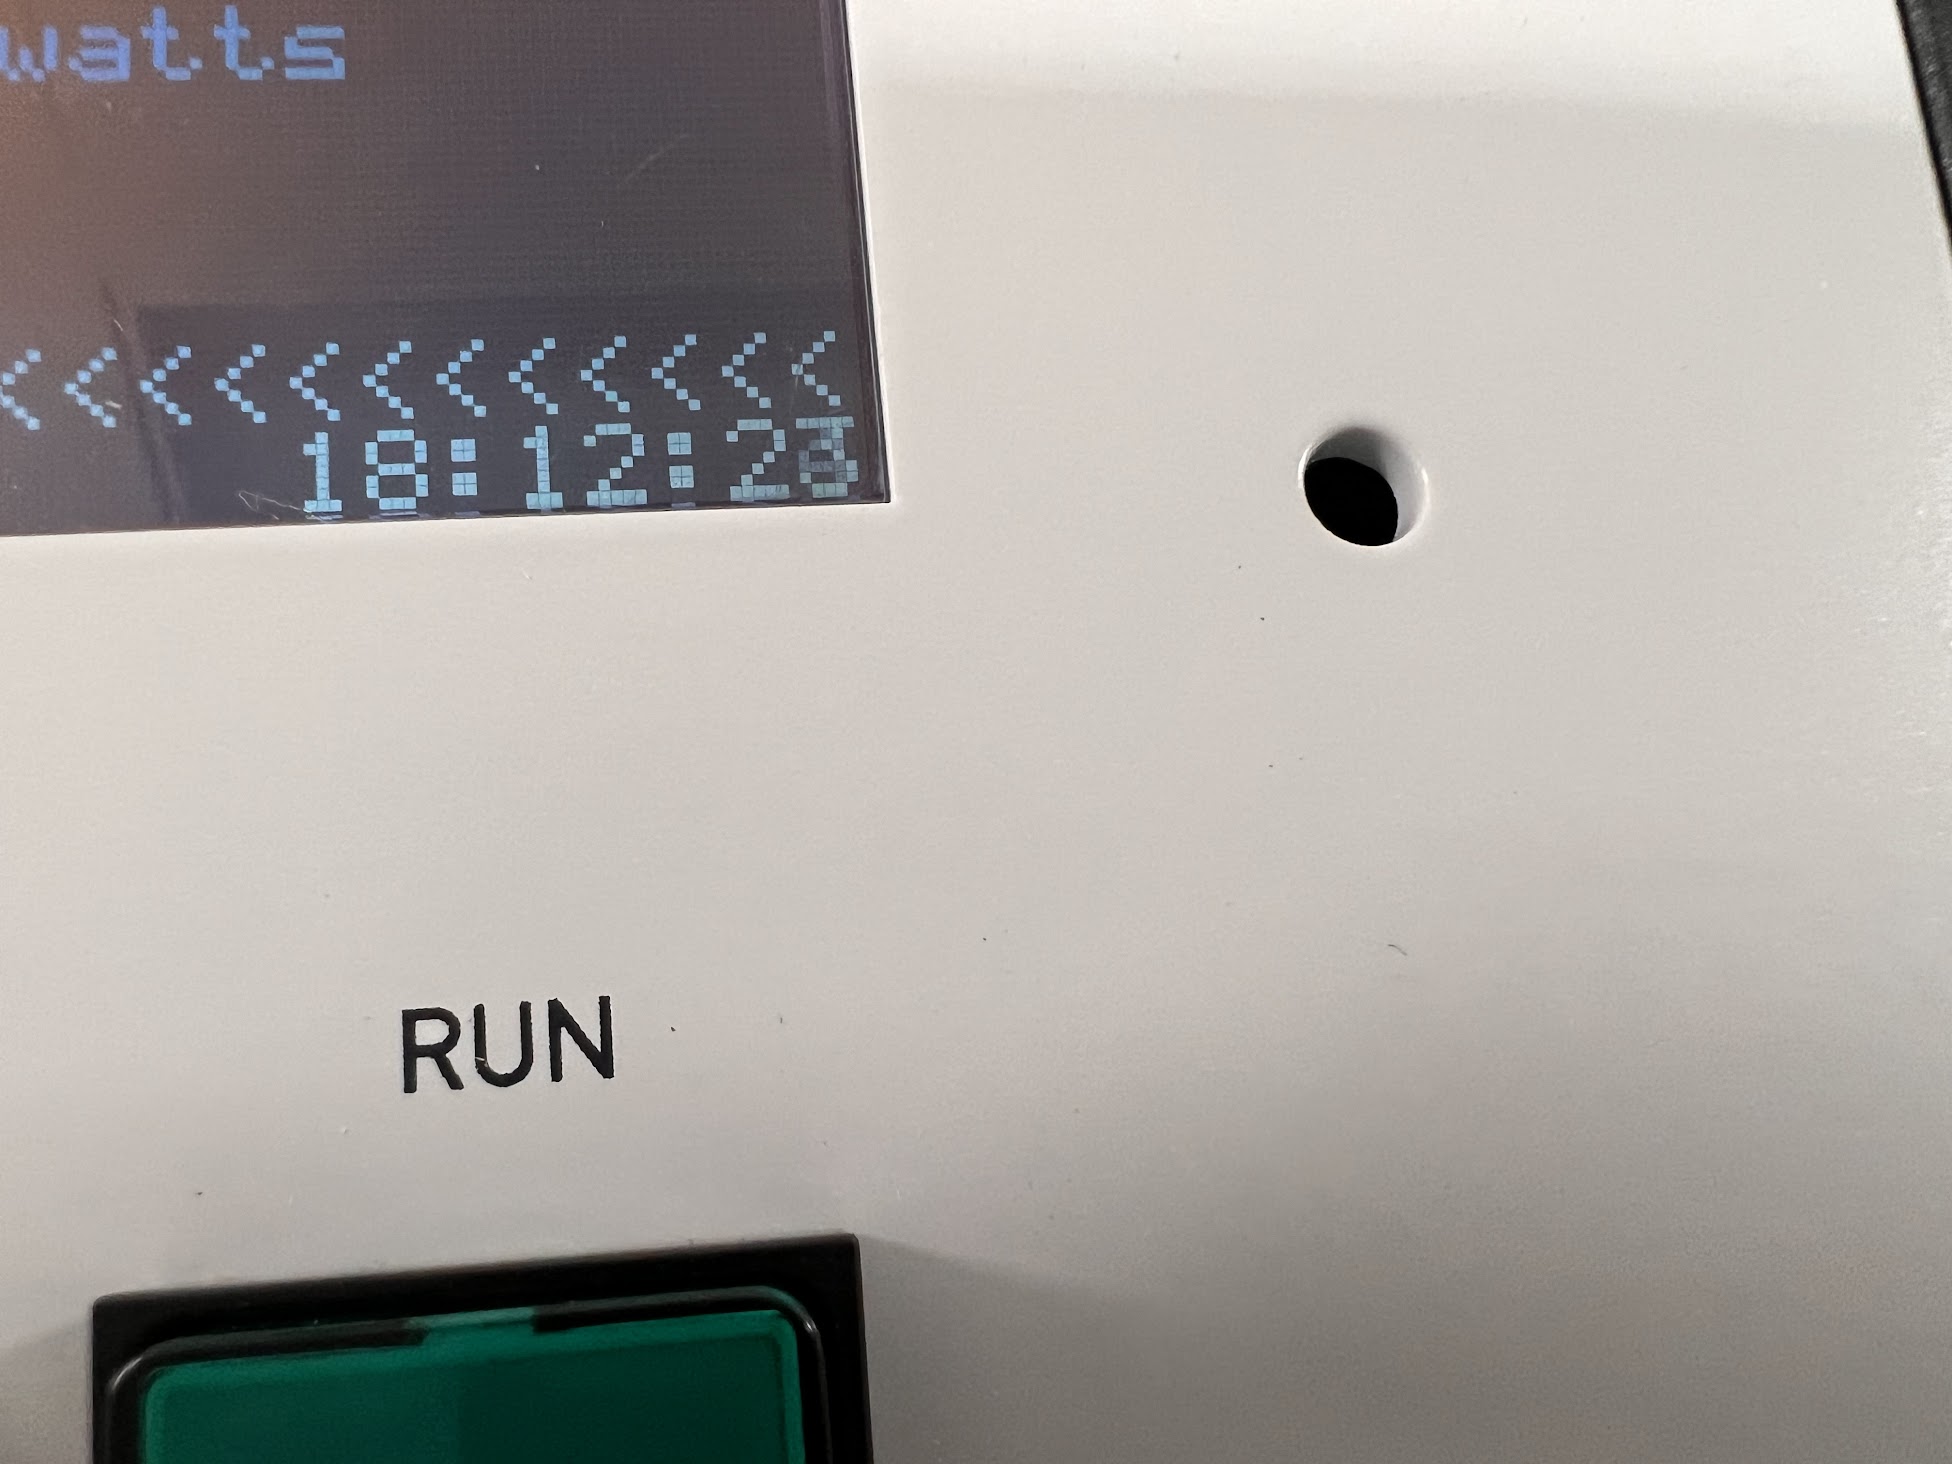
    Now go back to MW and Press ENT to turn to power on

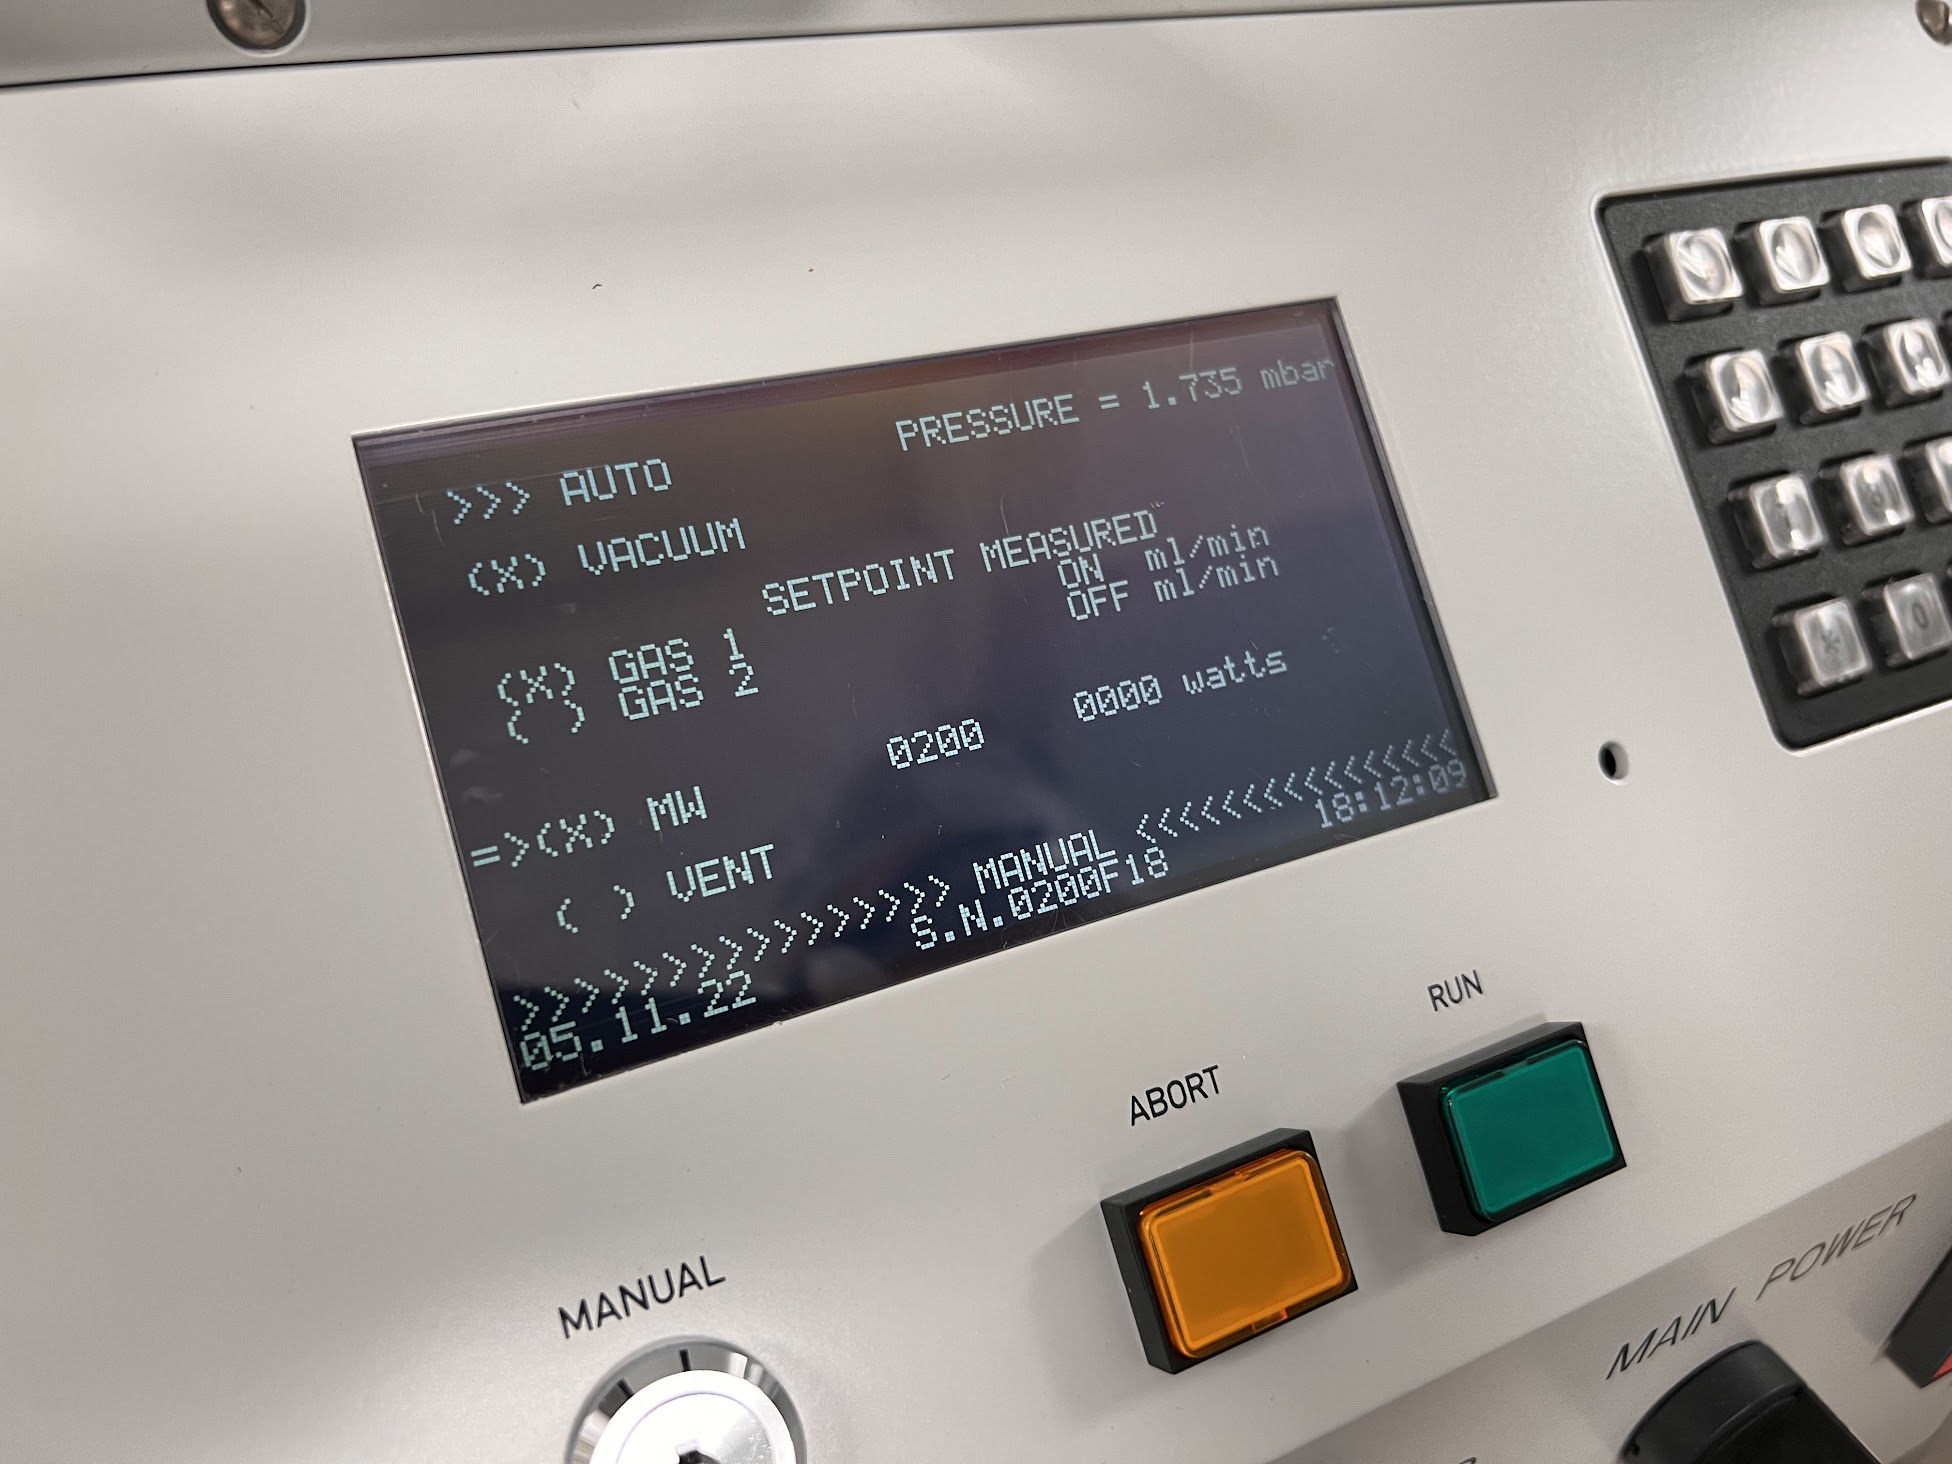
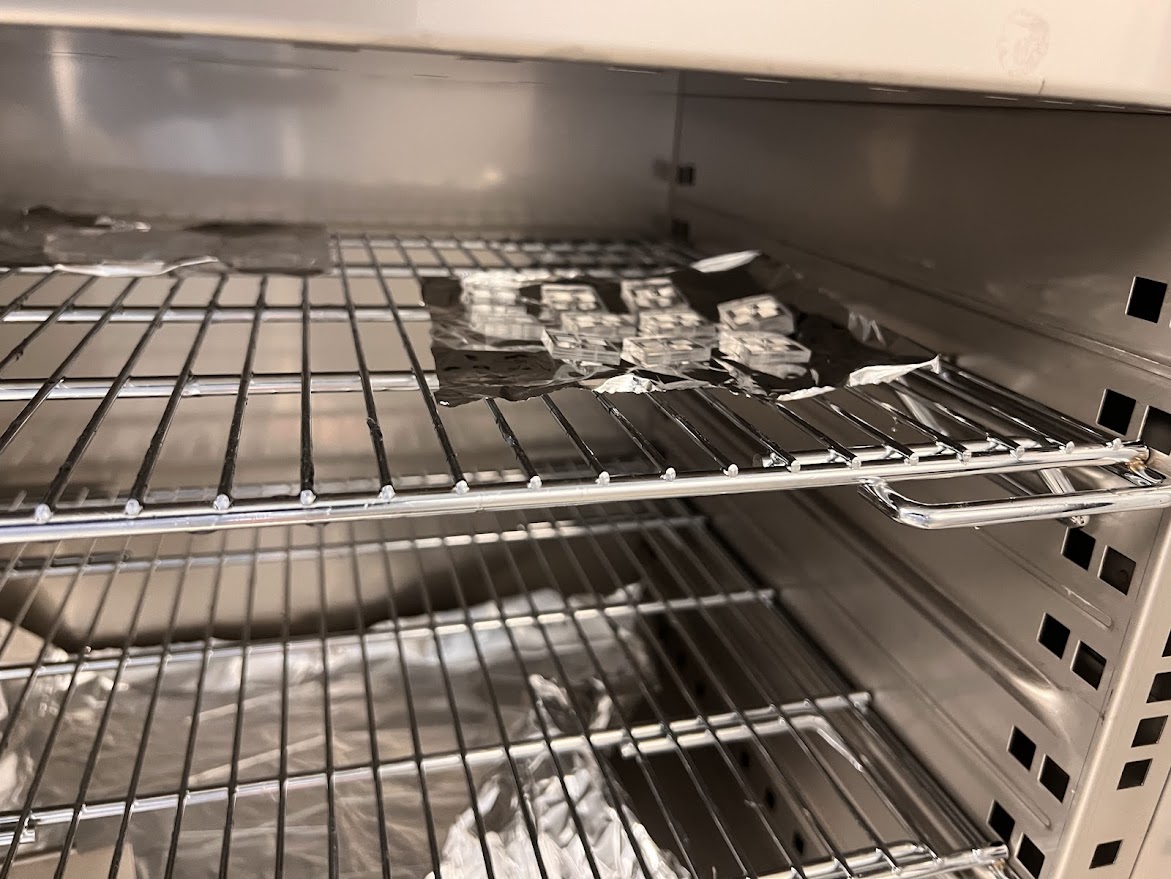
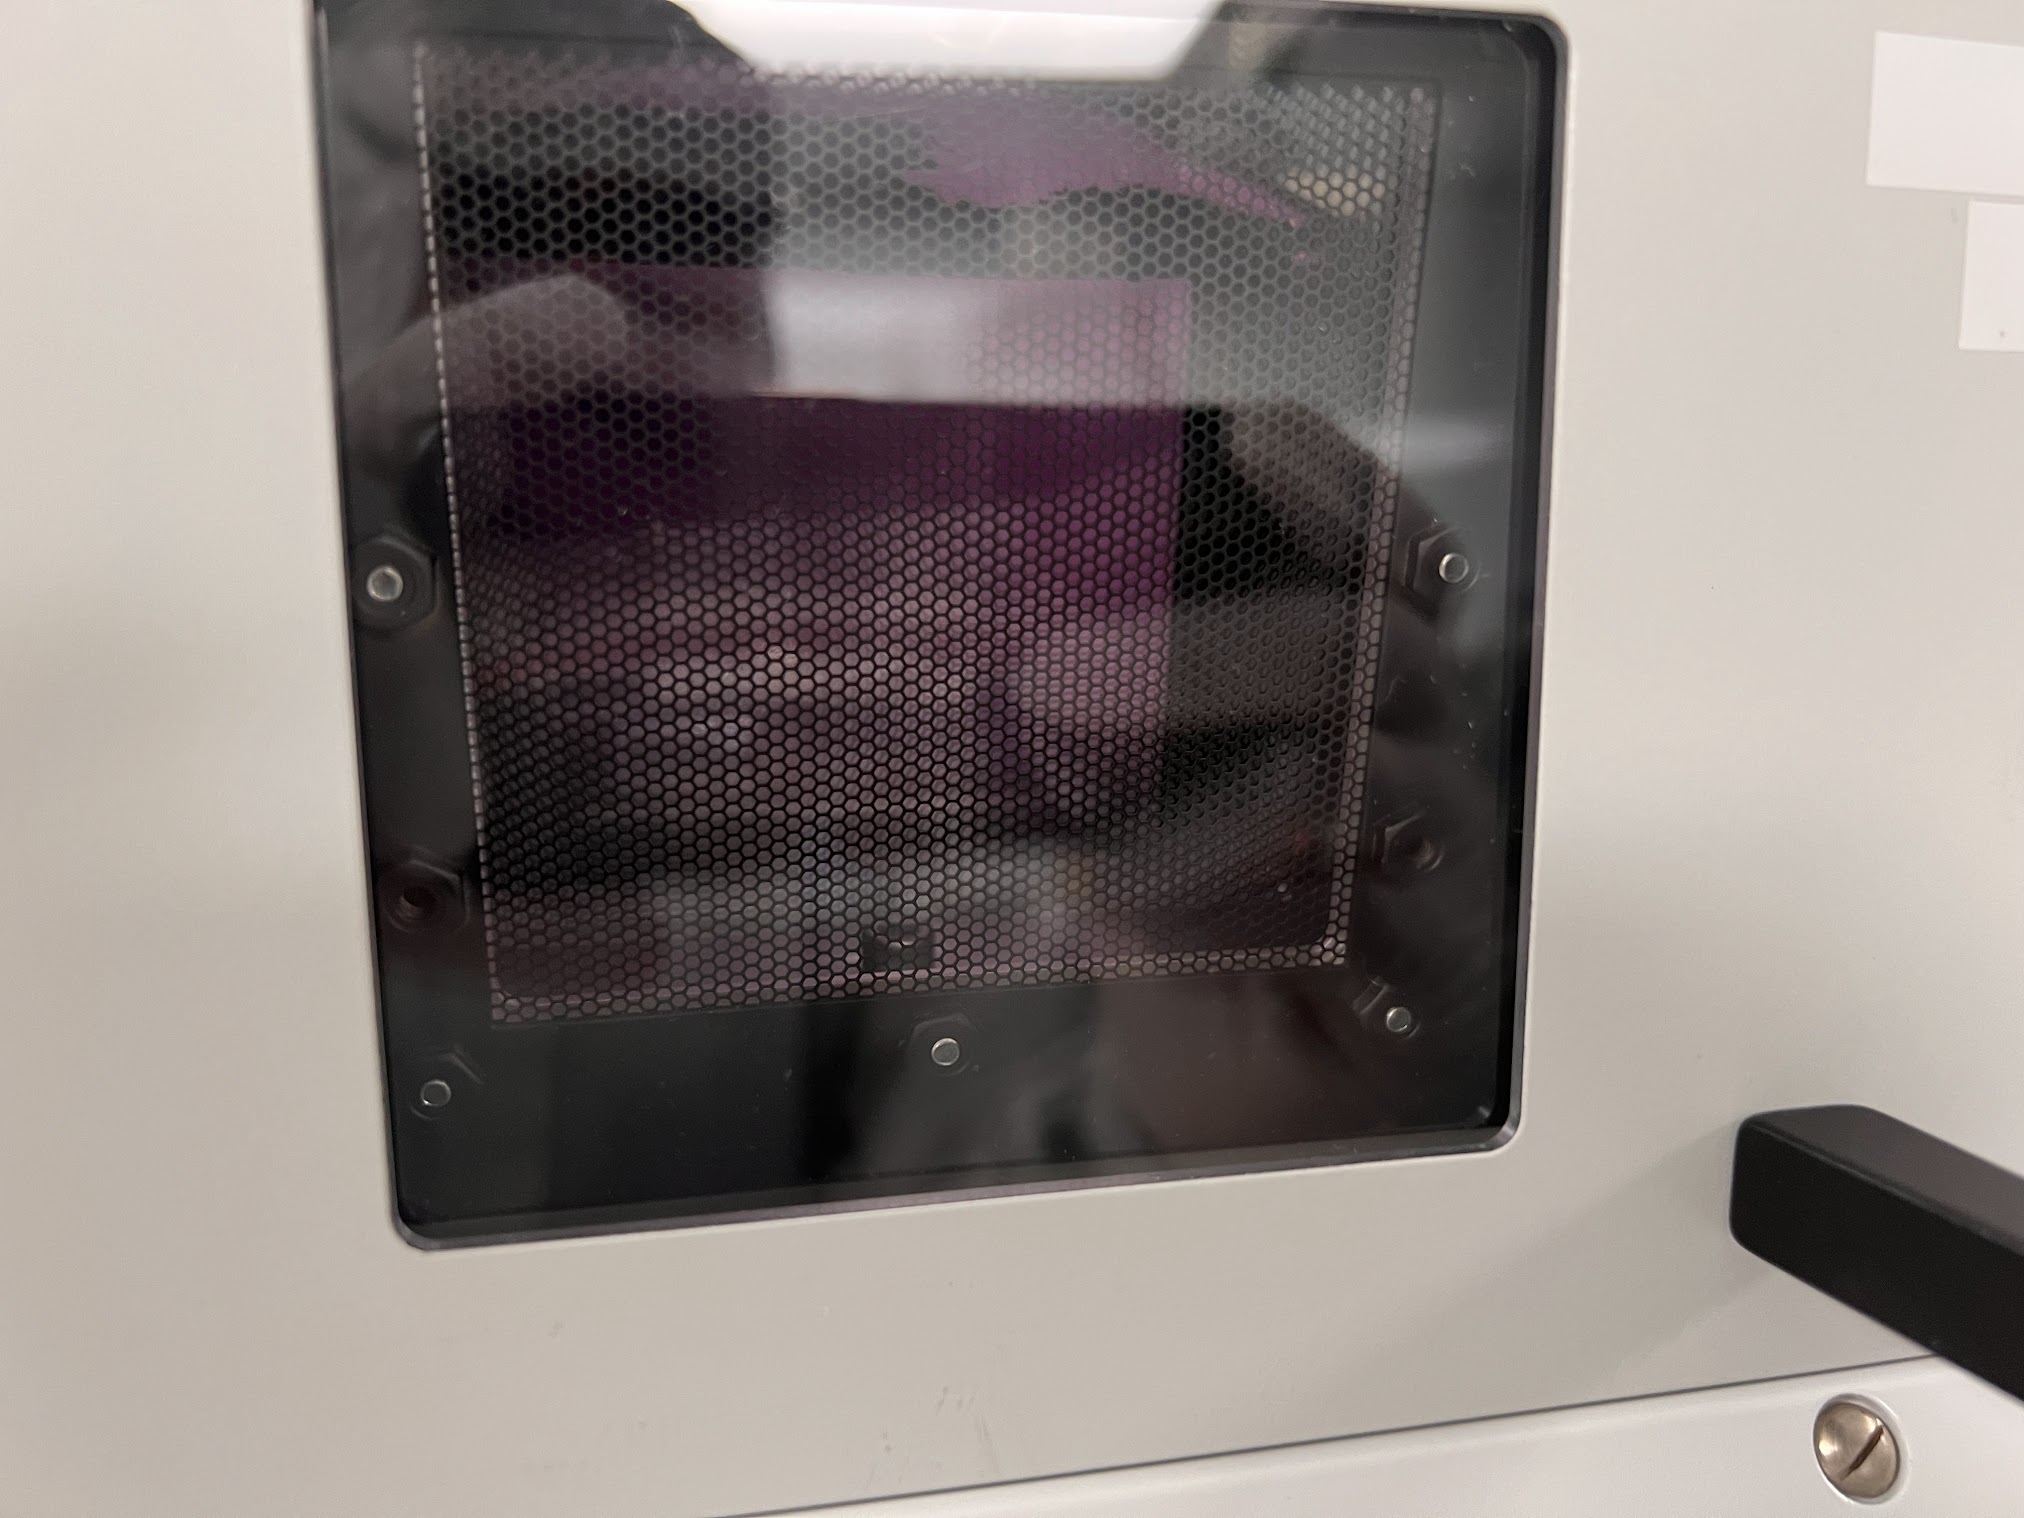
  • After a few minutes you should see a purple glow inside the Main Chamber indicating the Plasma is now on.

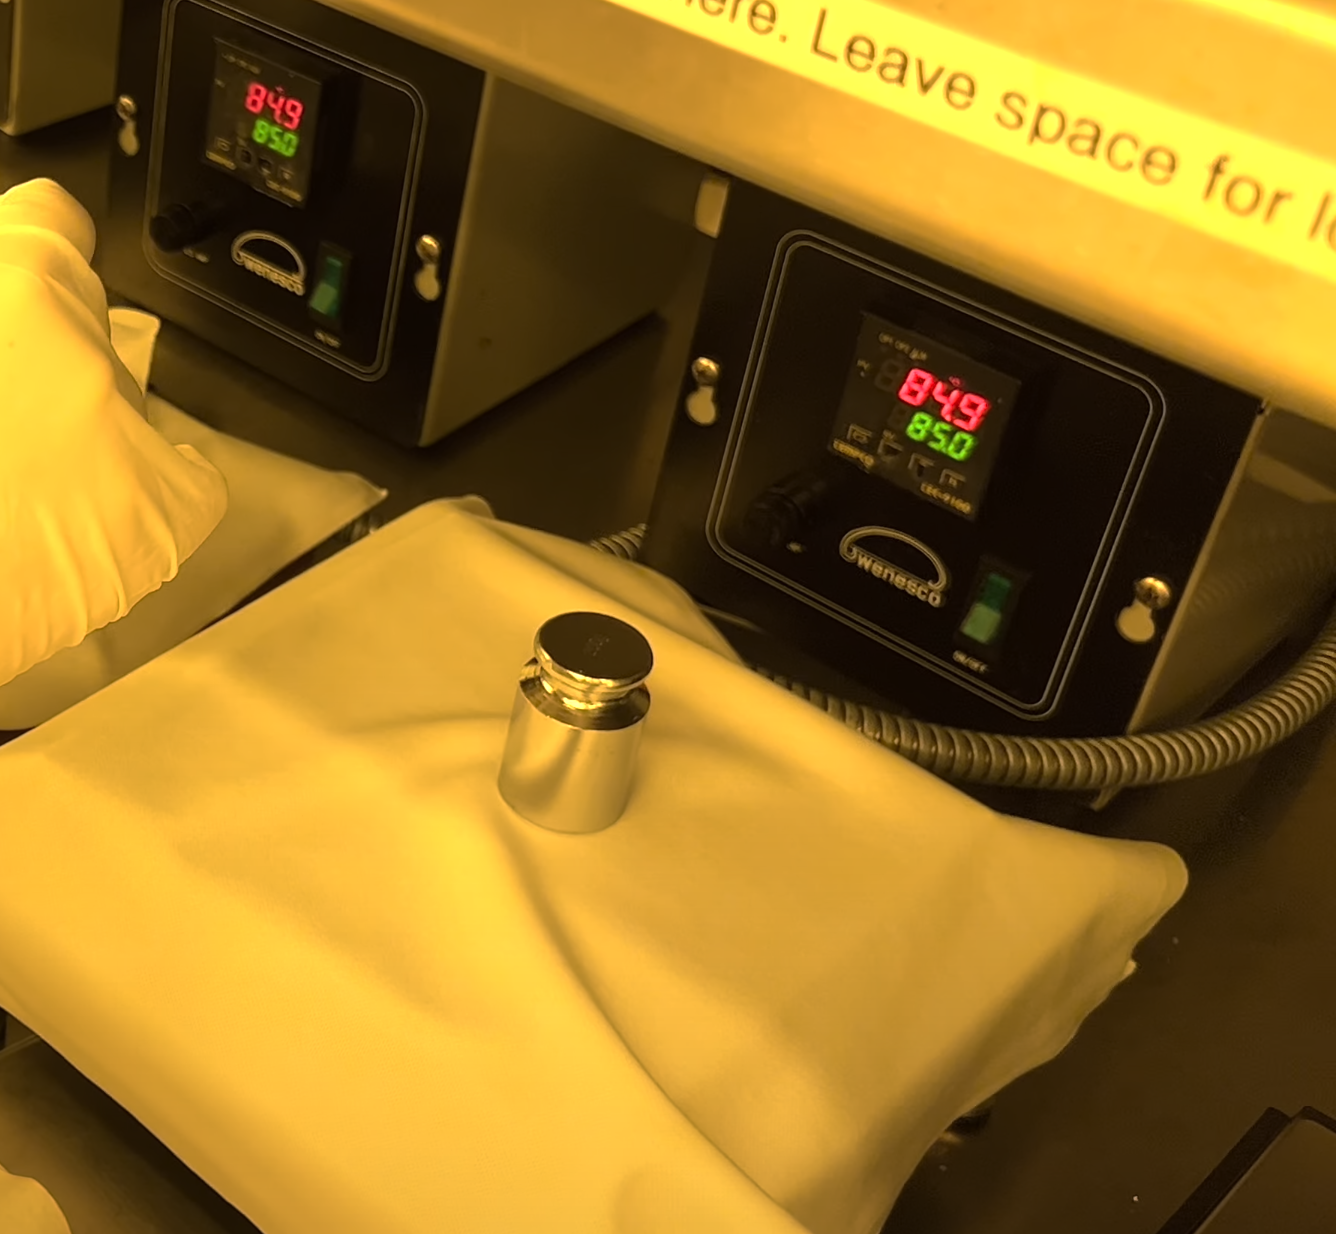
    • Keep the Power on for 10 Minutes. This much time is needed to Heat up the machine coils for producing the Plasma consistently.
    • Turn the ceiling light above the Tepla Asher off to see the plasma more clearly.
    • I suggest keeping the light above the Tepla off till all the chips have been bonded.
  • Select VENT and press ENT. Now slowly Open the Vent Valve and Rotate it to the Open position as mentioned previously. See Video Below.

In [1]:
%%HTML 
<iframe width="800" height="600" src="https://www.youtube.com/embed/kgCzeb23YNM" title="YouTube video player" frameborder="0" allow="accelerometer; autoplay; clipboard-write; encrypted-media; gyroscope; picture-in-picture; web-share" allowfullscreen></iframe>

Setup the Area for Bonding

  • Now Clean the Area around the Tepla throughly using Cloth Wipes and IPA.

    • You will need a Glass Crystalization Dish a FisherBrand Petri Dish and the Cover of another Petri Dish. You can find these stored in our lab's storage area next to the Photolithography lab.
    • There should be a ring shape in the center of the dish cover.
  • You will also need clean 75mm Glass Slides. Search the Cleanroom and Get enough glass slides for our Bonding. These are provided by the Cleanroom and generally available in many places around the Cleanroom.

  • Set one Hotplate to 85°C in the Photolithography lab and put a cloth wipe and a 200g weight on it. The 200g weight can also be found in our lab's storage area.

  • Load a Crystallization dish upside down inside the TePla. On top of this crystallization dish, place a closed plastic FisherBrand Petri Dish. Make sure the Orange O-Ring is seated properly in the top portion of the Tepla.

  • Now take the Top cover of another different Petri dish(From now referred to as Top Dish). We will use this Top Dish as a carrier for our glass slides and PDMS Chips inside the Tepla.

Repeat the Steps in the Following Section Till all the Chips are Bonded

  • Turn off the VENT by pressing ENT. Also close the Vent Valve by rotating clockwise.
  • Clean the Top Dish thoroughly with a cloth cleanroom wipe.
  • Clean the work area around the TePla thoroughly. Use Isopropanol and wipe all dust and debris off. This dust can easily jump onto the microfluidic chip and cause problems with bonding.
  • Clean the Tweezers with the cleanroom wipes.


  • Select one of the new boxes of 75mm Premium glass slides.
  • Select two pristine slides from the box. Visually inspect the glass slides to make sure there are no major scratches or debris on the slides before selection. Discard the glass slide if it doesn’t look good.
  • Put the Top Dish upside down after thoroughly cleaning it. The lip of the dish should be facing you.
  • Now place these pristine glass sides inside the Top Dish.
  • Now take two microfluidic chips prepared earlier using your hands and clean the top surface twice using Scotch Magic Tape before putting them alongside each of the glass slides in the Top Dish. Clean the microfluidic chips with tape by completely covering the patterned surface with fresh tape without any air bubbles. Then strip this tape off and put in on some cloth wipes. Strip the tape off perpendicular to the direction of the chip to avoid getting any dust on the chip.

  • Use your hands to transfer the chips as the tweezers can easily slip and cause scratches on the surface of the pattern.
    • The pattern of the microfluidic chips should be facing up towards you inside the Top Dish.
    • Take care to not move your hand over the glass or the chips while loading them onto the Top dish.
    • Particles stuck to your gloves can fall down and moving your hand over the glass or chips increases the probability that these particles will land on them.

  • Visually inspect everything on the Top Dish is clean and dust free. Then load the Top Dish on the Petri Dish already inside the TePla.
In [1]:
%%HTML 
<iframe width="800" height="600" src="https://www.youtube.com/embed/Ctn1i9butUo" title="YouTube video player" frameborder="0" allow="accelerometer; autoplay; clipboard-write; encrypted-media; gyroscope; picture-in-picture; web-share" allowfullscreen></iframe>
  • Now apply the VACUUM till the PRESSURE inside is less than 0.100 mbar.
  • Now turn on the GAS 1 flow and wait for it to stabilize.
  • Now turn on the Power. Check for Plasma ignition. You should see a purple color inside the TePla chamber.
  • Once you see that the plasma has ignited keep the Plasma on for 20 Seconds. Use the Clock on the Tepla to Countdown to 20 Seconds.
    • If you don't see the Plasma ignition after a few minutes follow the Troubleshooting Box Below.

PLASMA IGNITION TROUBLESHOOTING:

  • Sometimes the Plasma doesn't ignite at a Flow rate of 110 for GAS 1 after muliple Plasma On/Off cycles for the TePla
  • Increase the Gas Flow rate in increments of 10 till you see the Purple Plasma Ignition.
  • Use the Clock on the Tepla to Countdown to 20 Seconds. At the same time quickly decrease the Gas Flow rate to 110.
  • Execute the Cell Below to watch what to do if the Plasma doesn't ignite.
  • In this video the Gas Flow rate was set to 170 to facilitate Plasma Ignition.
  • Flow Rate was quickly decreased to increase the plasma intensity.
  • Plasma intensity is inversely related to Gas Flow rate at the same Power Level.
In [2]:
%%HTML
<iframe width="560" height="315" src="https://www.youtube.com/embed/edEGiMYjqBs?si=qZMJJAtTKDoifuuI" title="YouTube video player" frameborder="0" allow="accelerometer; autoplay; clipboard-write; encrypted-media; gyroscope; picture-in-picture; web-share" allowfullscreen></iframe>
  • Immediately VENT the chamber after this. It takes approximately 25 seconds to vent. Slowly turn the Vent valve otherwise the fast airflow can make the glass slides fly around inside the chamber.

  • Open the Chamber and quickly remove the Top Dish.

  • The bonding needs to be done within 1 minute so you will need to act fast.

  • Use the tweezers and carefully pick up a microfluidic chip.

  • Now take the microfluidic chip and Drop it on the glass slide. See video below to see the whole process in action. Do not try to push it down with your hands. This will distort the pattern.

  • You need to release the microfluidic chip over the glass slide. It needs to fall on its own. Use both hands to stabilize your tremors if you can’t easily hit your target slide. This part is tricky and needs practice.

  • You cannot pick the chip up and try again if you don't succeed. Discard the chip and try again for the next batch.

  • Once the chip lands on the glass slide you will notice a fast-moving front develops from the first point of contact to the rest of the chip. This is the air between the microfluidic chip and glass moving out. Do not try to force the process let it happen naturally.

  • Do this process for both microfluidic chips and glass slides.

  • Now check the first slide for any remaining bubbles trapped between the microfluidic chip and glass slide.

  • Wait for the bubbles to disappear on their own. If they don't disappear within 45 seconds then use your tweezers to massage the area. The bubble should mostly disappear after your massage. Trapped particles can also lead to bubbles formation. If you see particles then get rid of the Chip.

In [3]:
%%HTML 
<iframe width="800" height="600" src="https://www.youtube.com/embed/j1KaNZIcmls" title="YouTube video player" frameborder="0" allow="accelerometer; autoplay; clipboard-write; encrypted-media; gyroscope; picture-in-picture; web-share" allowfullscreen></iframe>
In [4]:
%%HTML
<iframe width="800" height="600" src="https://www.youtube.com/embed/Ks4-yoAfQFQ" title="YouTube video player" frameborder="0" allow="accelerometer; autoplay; clipboard-write; encrypted-media; gyroscope; picture-in-picture; web-share" allowfullscreen></iframe>
In [5]:
%%HTML
<iframe width="800" height="600" src="https://www.youtube.com/embed/cHnrYkN_Z_U" title="YouTube video player" frameborder="0" allow="accelerometer; autoplay; clipboard-write; encrypted-media; gyroscope; picture-in-picture; web-share" allowfullscreen></iframe>
  • Now transfer both the bonded chips to another petri dish and put two 200g weighs on top of the chips.
  • Bring these bonded chips to the Hotplate and place them on top of the Cloth wipe. Now cover the chips with another cloth cleanroom wipe on top and put two 200g weights on top of the chips below the cloth wipe.
  • Leave the microfluidic chips on the Hotplate for at least 10 minutes.
  • Remove the bonded chips and cover the top PDMS chip with Scotch tape as shown in the video. The tape needs to be longer in length than the glass slide for easy removal. Do not try to tuck the tape under the chip. This will only make you life harder.
  • Your chips are now ready for treatment with Aquapel.
In [6]:
%%HTML
<iframe width="800" height="600" src="https://www.youtube.com/embed/ric15so4E3Y" title="YouTube video player" frameborder="0" allow="accelerometer; autoplay; clipboard-write; encrypted-media; gyroscope; picture-in-picture; web-share" allowfullscreen></iframe>
In [7]:
%%HTML
<iframe width="800" height="600" src="https://www.youtube.com/embed/AfIv2SLstdk" title="YouTube video player" frameborder="0" allow="accelerometer; autoplay; clipboard-write; encrypted-media; gyroscope; picture-in-picture; web-share" allowfullscreen></iframe>

Cleanup

  • Get rid of all the trash and keep the items in their correct location.

  • The Petri dishes with the bonded Chips should be correctly labeled with the Date, Version number and your name.

  • Keep these Petri Dishes outside the Cleanroom storage box since we will now treat them with Aquapel.

  • Turn the VENT off on the Tepla, close the Vent valve and set the machine to IDLE mode. Press ENT to go back to the main menu and select IDLE MODE.

  • Log off the Tepla Asher on FOM.

Troubleshooting Poor Bonding/Delamination During Aquapel Treatment

  • Depending on the Season, Location or Batch of PDMS, there might be too much moisture absorbed into the PDMS Chips.
    • Moisture severly impacts bonding strength.
  • To improve bonding efficiency:
    • Dehydration Bake the Unbonded PDMS Chips at 120°C in a Convection Oven overnight.
    • Make sure the pattern is facing up.
    • Chips should be already cut and the holes punched for better airflow.
  • During Bonding step you might have to Glide your tweezers along top of the Chip to remove air from the Glass-PDMS Interface.
    • Gliding Helps prevent distortion in the pattern during bonding.
    • Massaging the Chip with your Tweezers to get rid of any remaining air bubbles also helps.
    • These steps are necessary because the overnight heating might change the curvature of the chips leading to non-spontaneous removal of the air bubbles.